---
title: "AI product personalizer for print on demand"
description: "A simple walkthrough for turning an Etsy-style idea into a personalized Shopify product with AI, Printify, and real product previews."
canonical: "https://personalize.design/guides/ai-product-personalizer-for-print-on-demand/"
markdown: "https://personalize.design/guides/ai-product-personalizer-for-print-on-demand.md"
language: "en"
page_type: "resource"
section: "Guides"
format: "Step-by-step guide"
published: "2026-08-01"
modified: "2026-08-01"
verified: "2026-08-01"
author: "Kévin D"
reviewed_by: "Personalize.design product team"
indexing: "index"
tags:
- "AI product personalizer"
- "print on demand"
- "Shopify personalization"
- "AI Blueprint"
- "Printify"
---
# AI product personalizer for print on demand
> A simple walkthrough for turning an Etsy-style idea into a personalized Shopify product with AI, Printify, and real product previews.
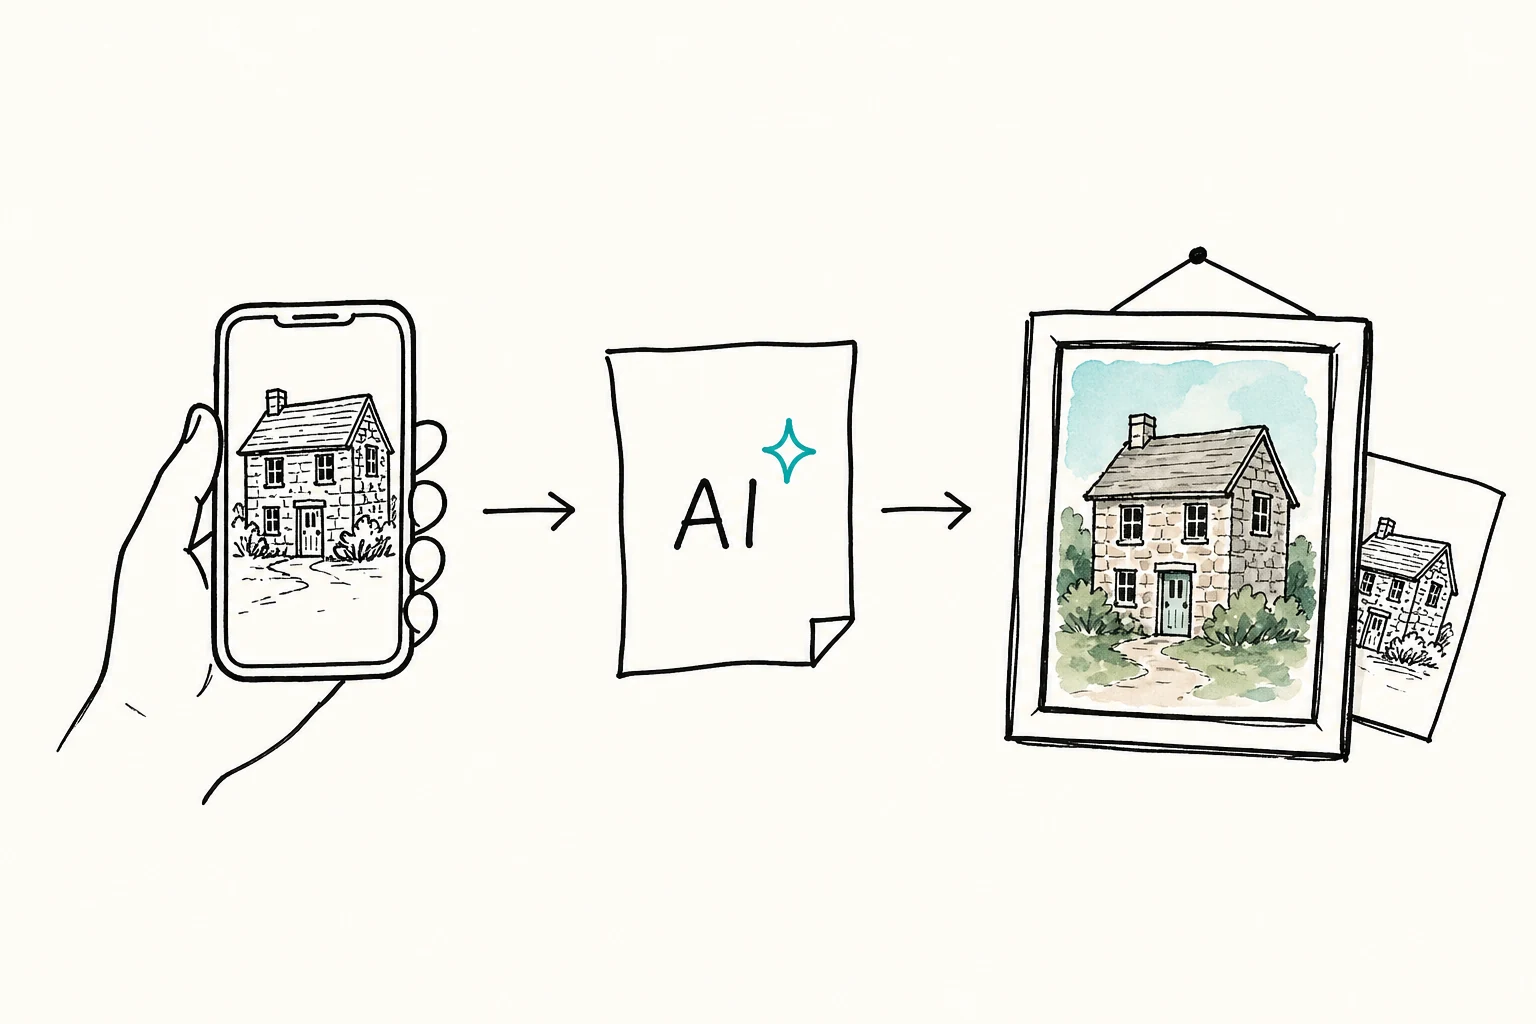
An AI product personalizer for print on demand lets a shopper upload a photo, add personal details, preview the finished product, and buy it. With Personalize.design, the setup is simple: create an AI Blueprint, connect it to a Printify product, test the result, and publish it on Shopify.
The video below shows the complete workflow with a personalized house portrait on canvas.
A real Personalize.design walkthrough, from product idea to Printify fulfillment.
## What is an AI product personalizer?
It is a storefront experience that turns a shopper's photo and text into new artwork for a physical product. The shopper sees the result before checkout, while the merchant receives the personalized design needed to fulfill the order.
This works especially well for products such as:
- house portraits;
- pet portraits;
- family illustrations;
- personalized posters;
- custom canvas prints, mugs, apparel, and gifts.
An AI Blueprint makes the design repeatable. It stores the style, prompt, customer fields, image model, and format so every shopper can personalize the same product without the merchant rebuilding the artwork by hand.
## The complete workflow
### 1. Start with a product idea
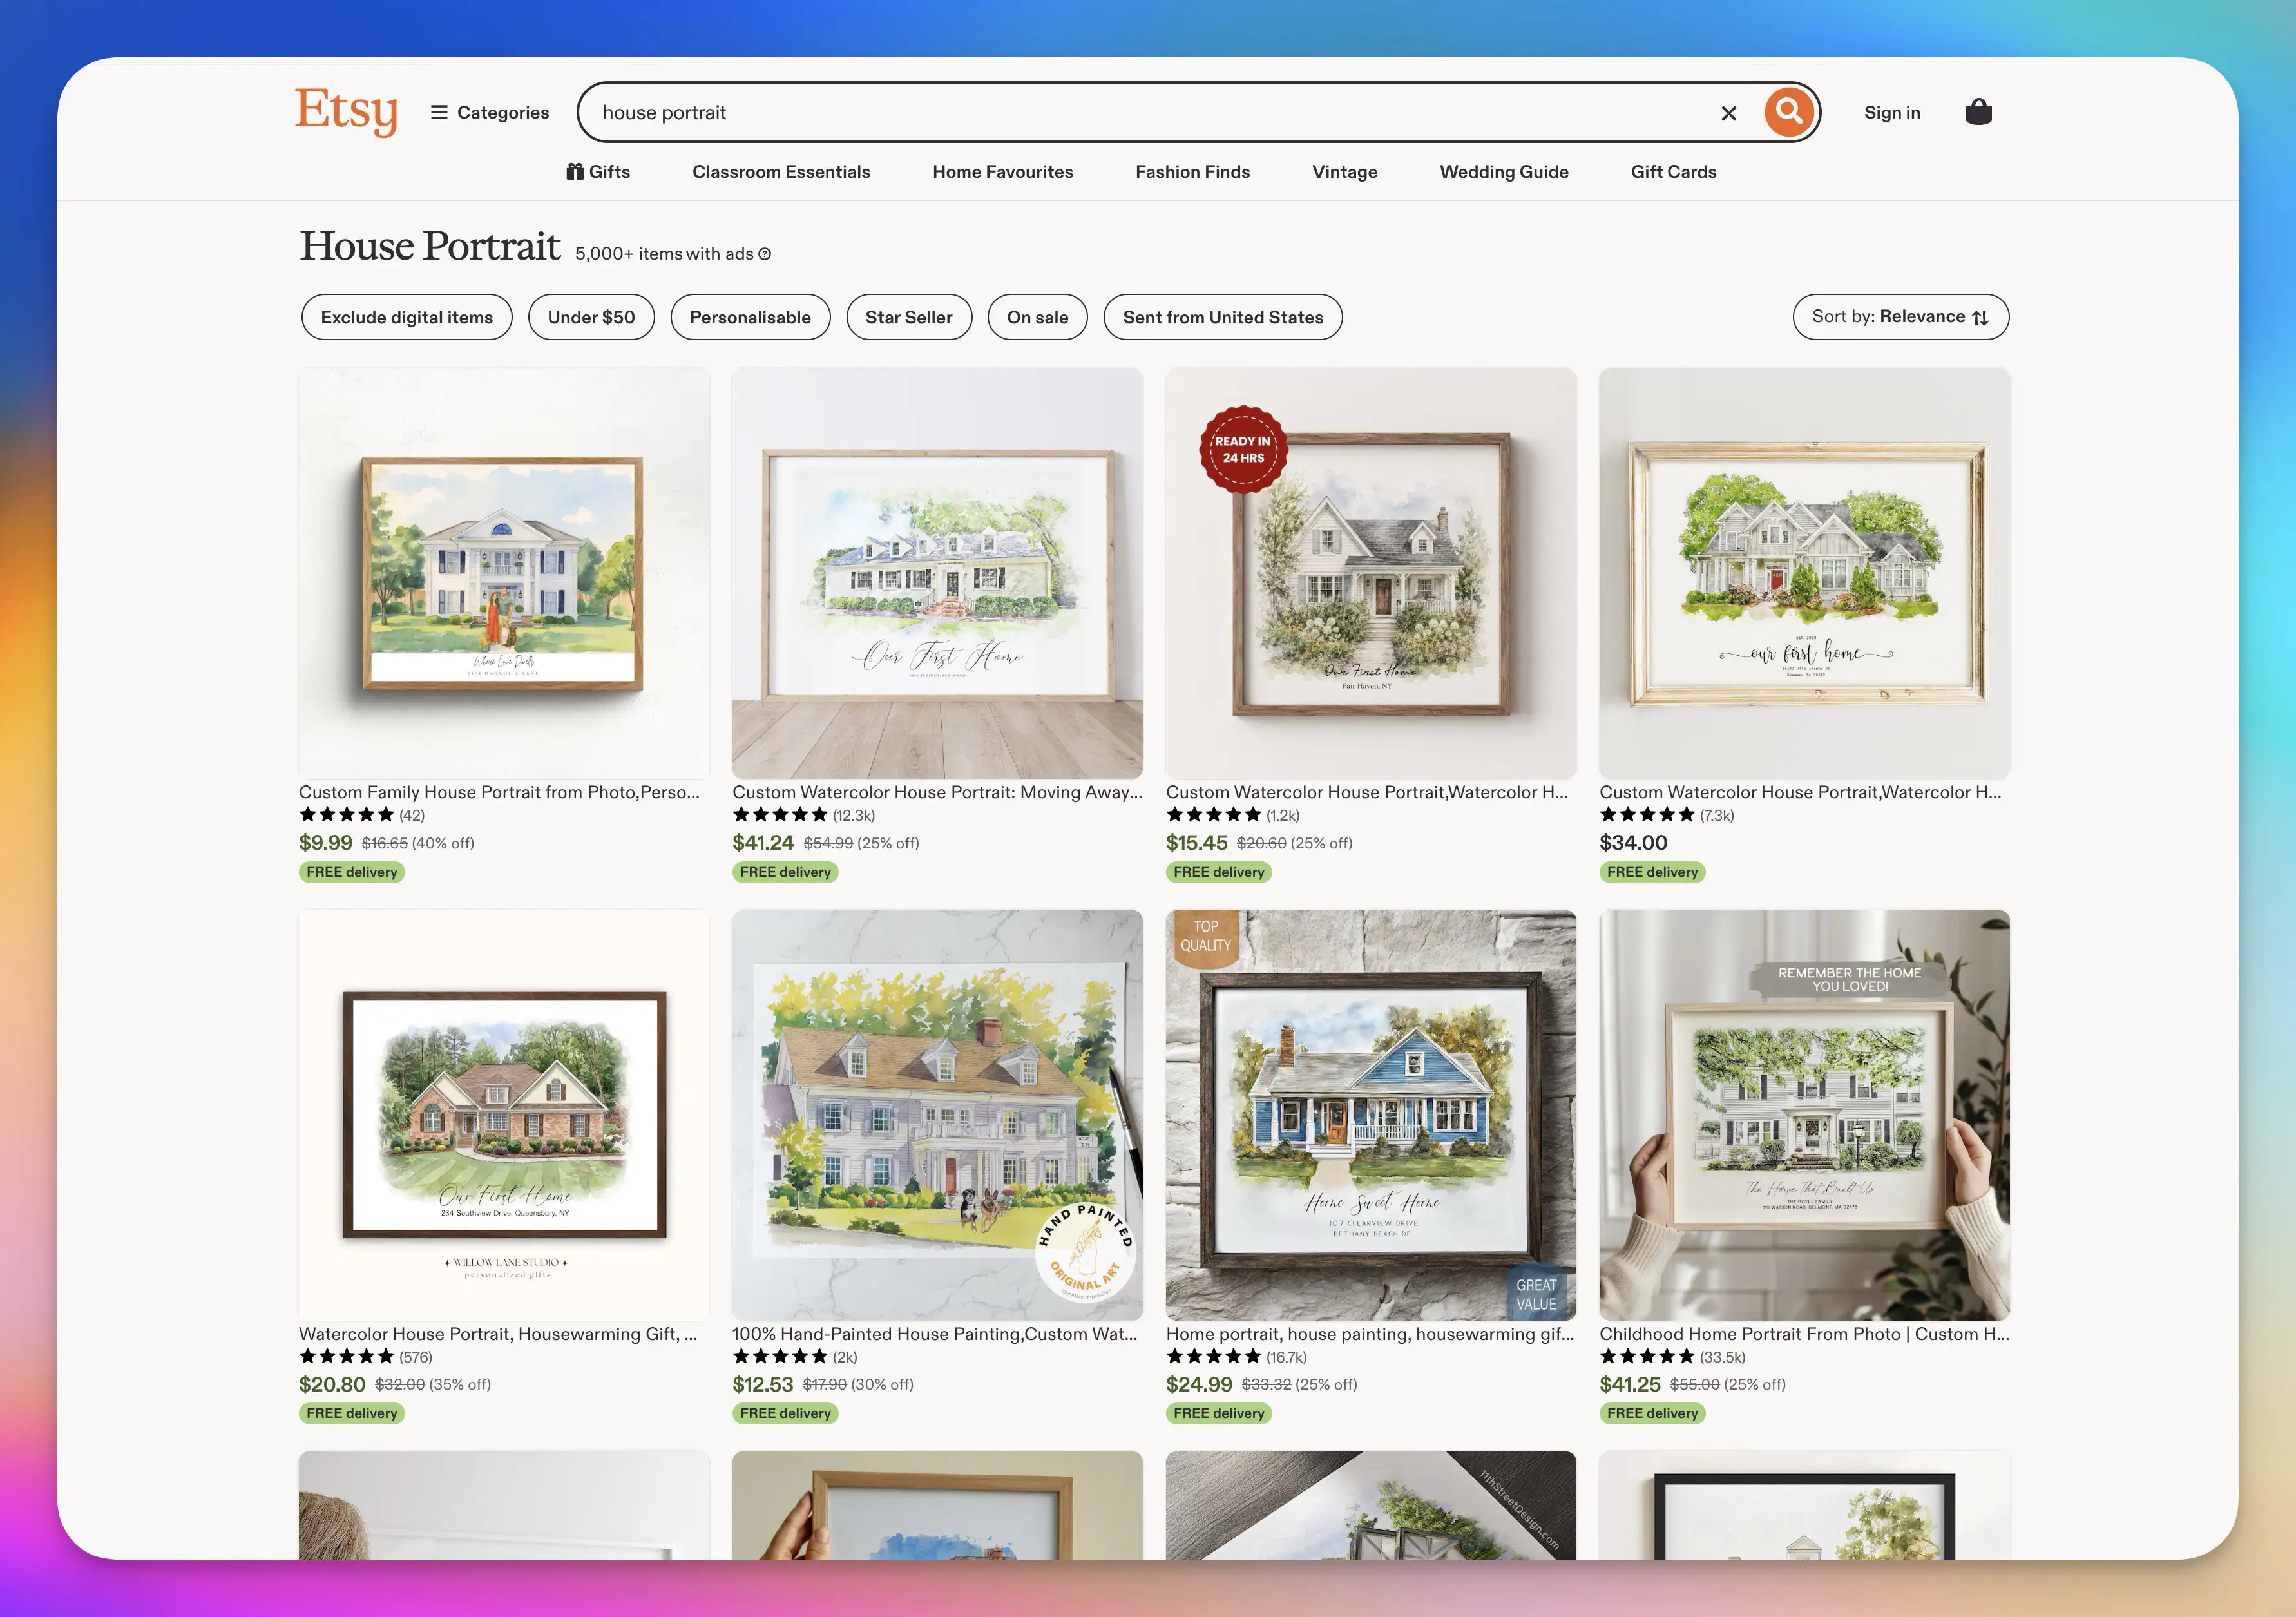
Begin with a product people already understand. In the video, the starting point is a pastel house portrait found on Etsy. The goal is not to copy the listing. It is to identify a clear product concept: a customer uploads a house photo and receives a personalized watercolor-style canvas.
Choose one style, one product, and one simple promise for your first test.
The starting point: an Etsy search shows that personalized house portraits are an established product category. Use the category as inspiration, not a specific listing.
### 2. Install the app and connect Printify
Install Personalize.design on your Shopify store, then connect your Printify account with a connection token. During onboarding, add the Personalize.design block to your Shopify product template. The personalization button will only appear on products you activate.
This setup is done once. After that, you can create and publish more personalized products from the same workspace.
### 3. Create and test an AI Blueprint
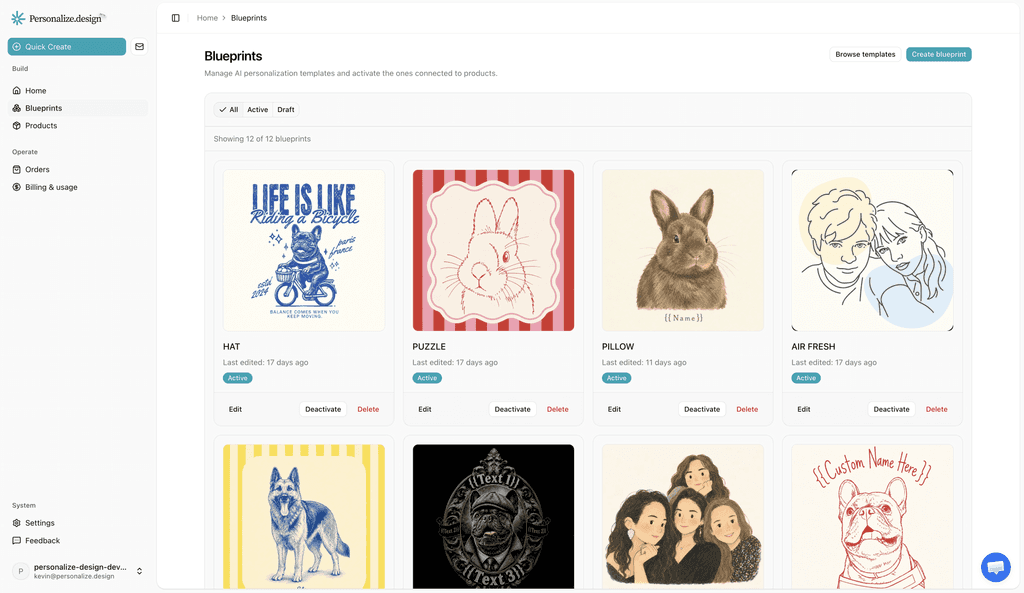
A Blueprint contains the instructions for the personalized artwork. You can start from a reference image or write the prompt from scratch. Add variables for the details shoppers can change, such as a house name or subtitle.
Then upload a test photo and generate a result. If you want to change the style or add another field, update the Blueprint and test again.
Prefer a high-quality image model to avoid AI artifacts and keep the result consistent. Test several source photos before you publish.
The Blueprints dashboard stores reusable personalized designs.
### 4. Create the Printify product
Choose the physical product in Printify. For the house portrait in the video, that product is a canvas. Add one of your test designs to create the mockups, complete the listing, and publish it to Shopify.
Once Printify has synchronized the product, import it into Personalize.design.
### 5. Connect the Blueprint to the product
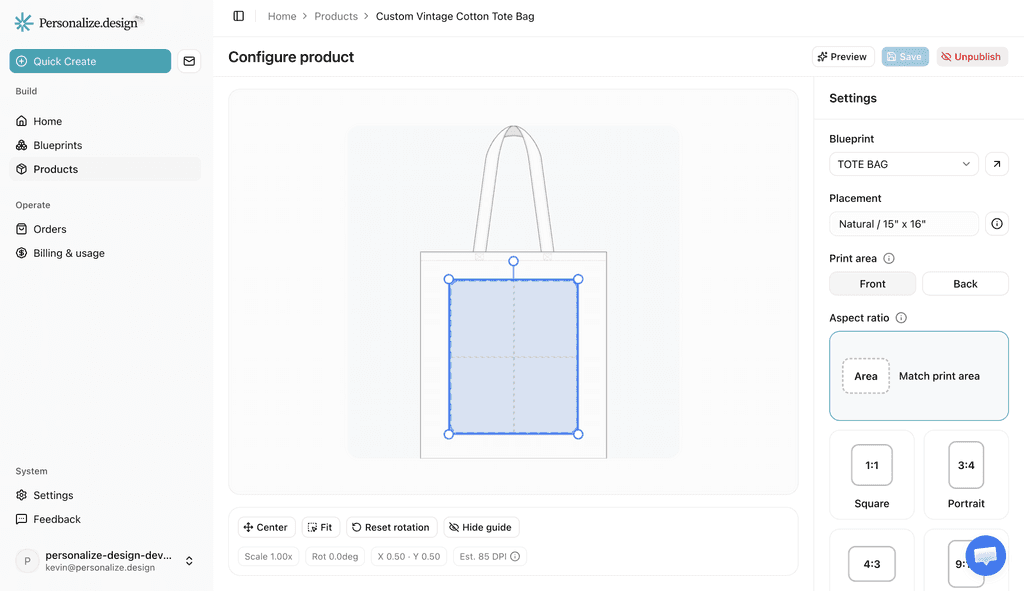
Select the product, choose the Blueprint, and position the artwork inside the print area. Use the aspect ratio that best matches the product. Then save and preview it with a different customer photo.
This final test shows both the generated artwork and the product mockup, so you can check the complete customer experience before launch.
The artwork is positioned once, then reused for every customer preview.
### 6. Publish the personalized product
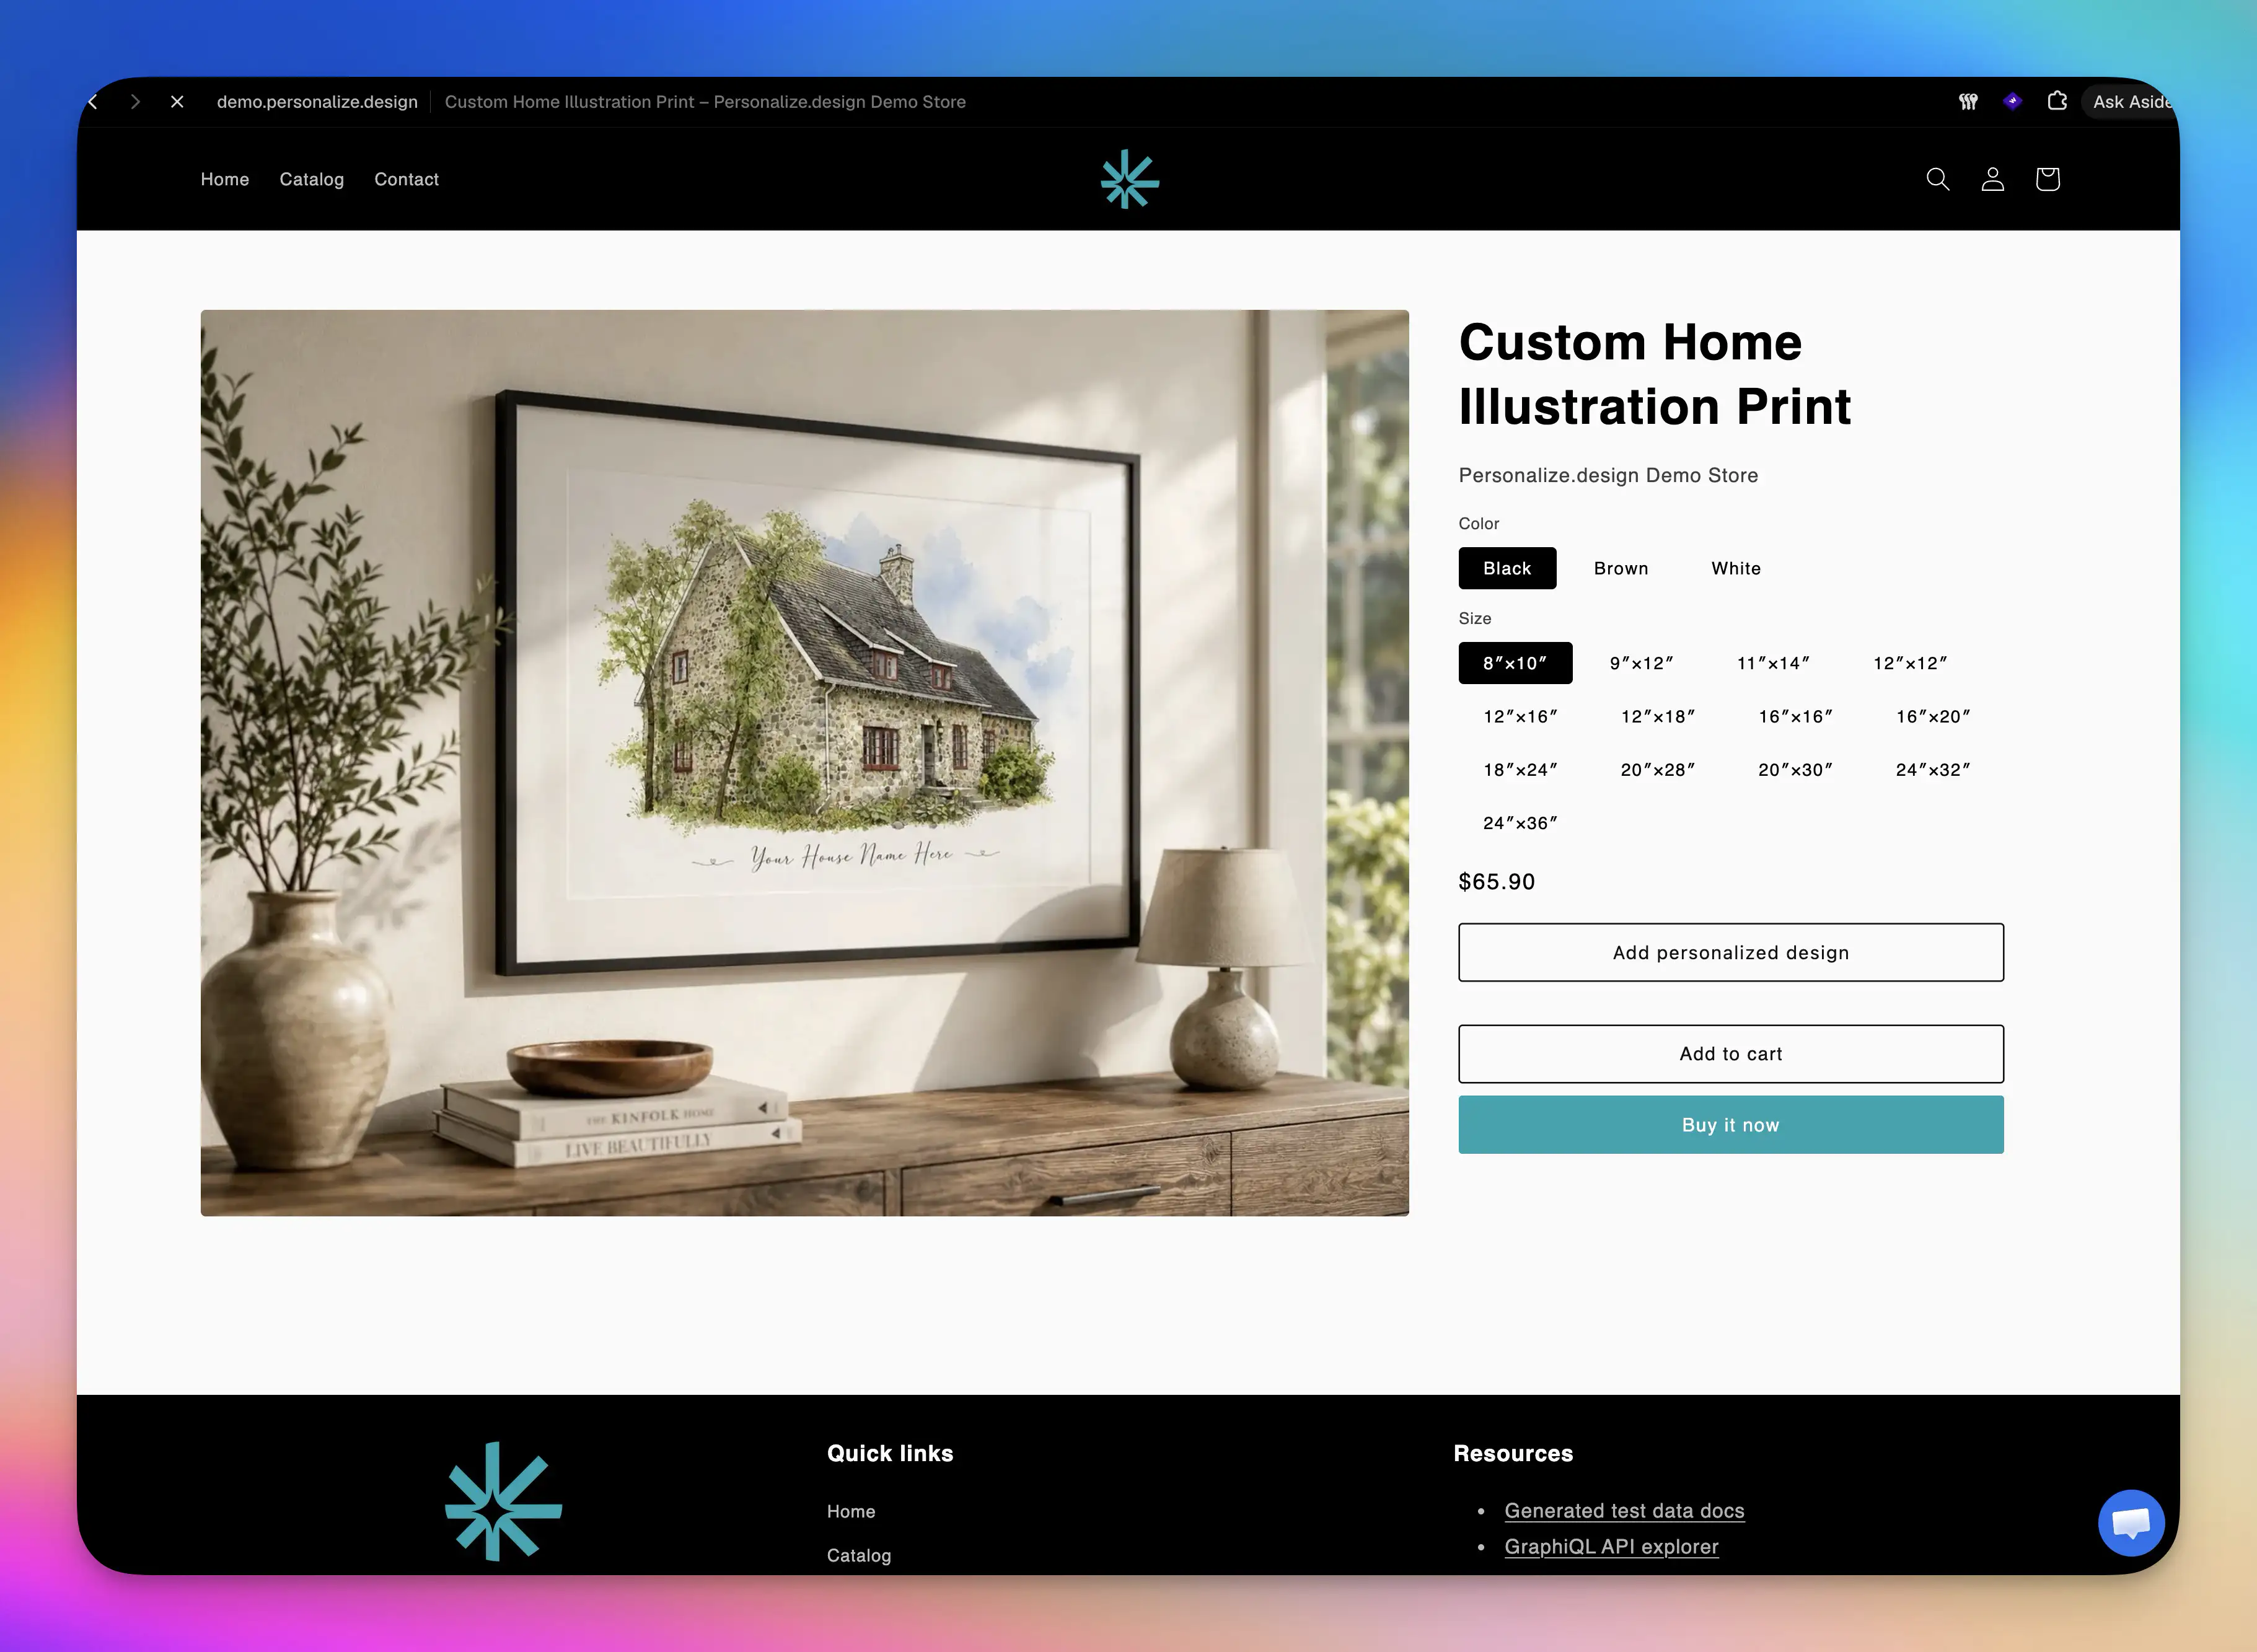
Publish the product to your Shopify store. A shopper can now open the product page, upload a photo, enter the requested text, and reveal the personalized artwork.
They can also see the final product mockup before adding it to the cart.
The shopper personalizes and previews the product directly on Shopify.
### 7. Review the order and send it to production
After checkout, the order appears in Personalize.design with the customer's artwork and order details. It is also sent to Printify, ready for production according to your fulfillment settings.
You can follow usage and billing from the app, set a monthly budget, and limit the number of generations available to each shopper. This keeps the workflow easy to manage as you add products.
## A real before-and-after example
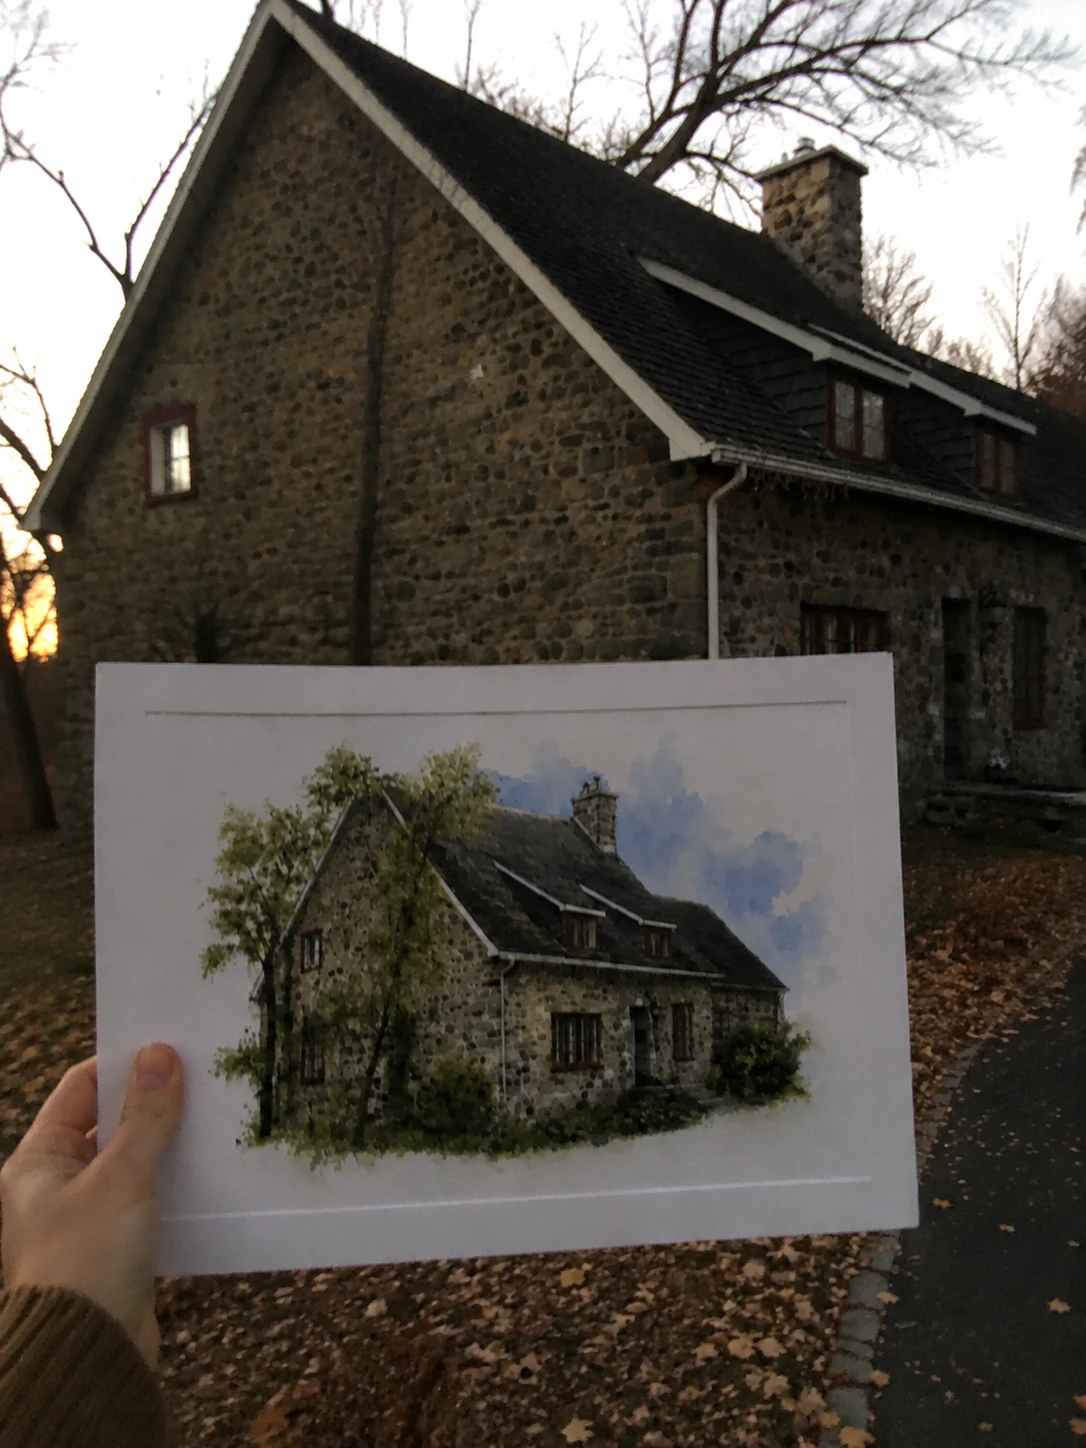
The finished product should still feel like the shopper's original subject. In this example, the roofline, stonework, chimney, and proportions remain recognizable after the house photo becomes a watercolor print.
The original house and the physical personalized print in the same photograph.
## What does it cost?
The cost depends on the image model and the number of previews shoppers generate. Personalize.design shows every usage event, includes a small test credit, supports pay-as-you-go billing, and lets you set a monthly budget. Start with one product and a small preview limit, then adjust it from real orders.
## Primary sources
The workflow and product requirements were checked on August 1, 2026 against these first-party sources:
- [Personalize.design product walkthrough](https://www.youtube.com/watch?v=McWZUIayuNE)
- [Personalize.design on the Shopify App Store](https://apps.shopify.com/personalize-design-beta)
- [Printify print-file requirements](https://help.printify.com/hc/en-us/articles/4483617936657-What-type-of-print-files-does-Printify-require)
- [Printify personalized order submission settings](https://help.printify.com/hc/en-us/articles/47153898294673-What-are-the-personalized-order-submission-settings)
- [Shopify Cart API](https://shopify.dev/docs/api/ajax/reference/cart)
## Create your first personalized product
Start with one idea, build one Blueprint, and run one complete test order.
[Install Personalize.design from the Shopify App Store](https://apps.shopify.com/personalize-design-beta) and turn your first product idea into a personalized Shopify listing.