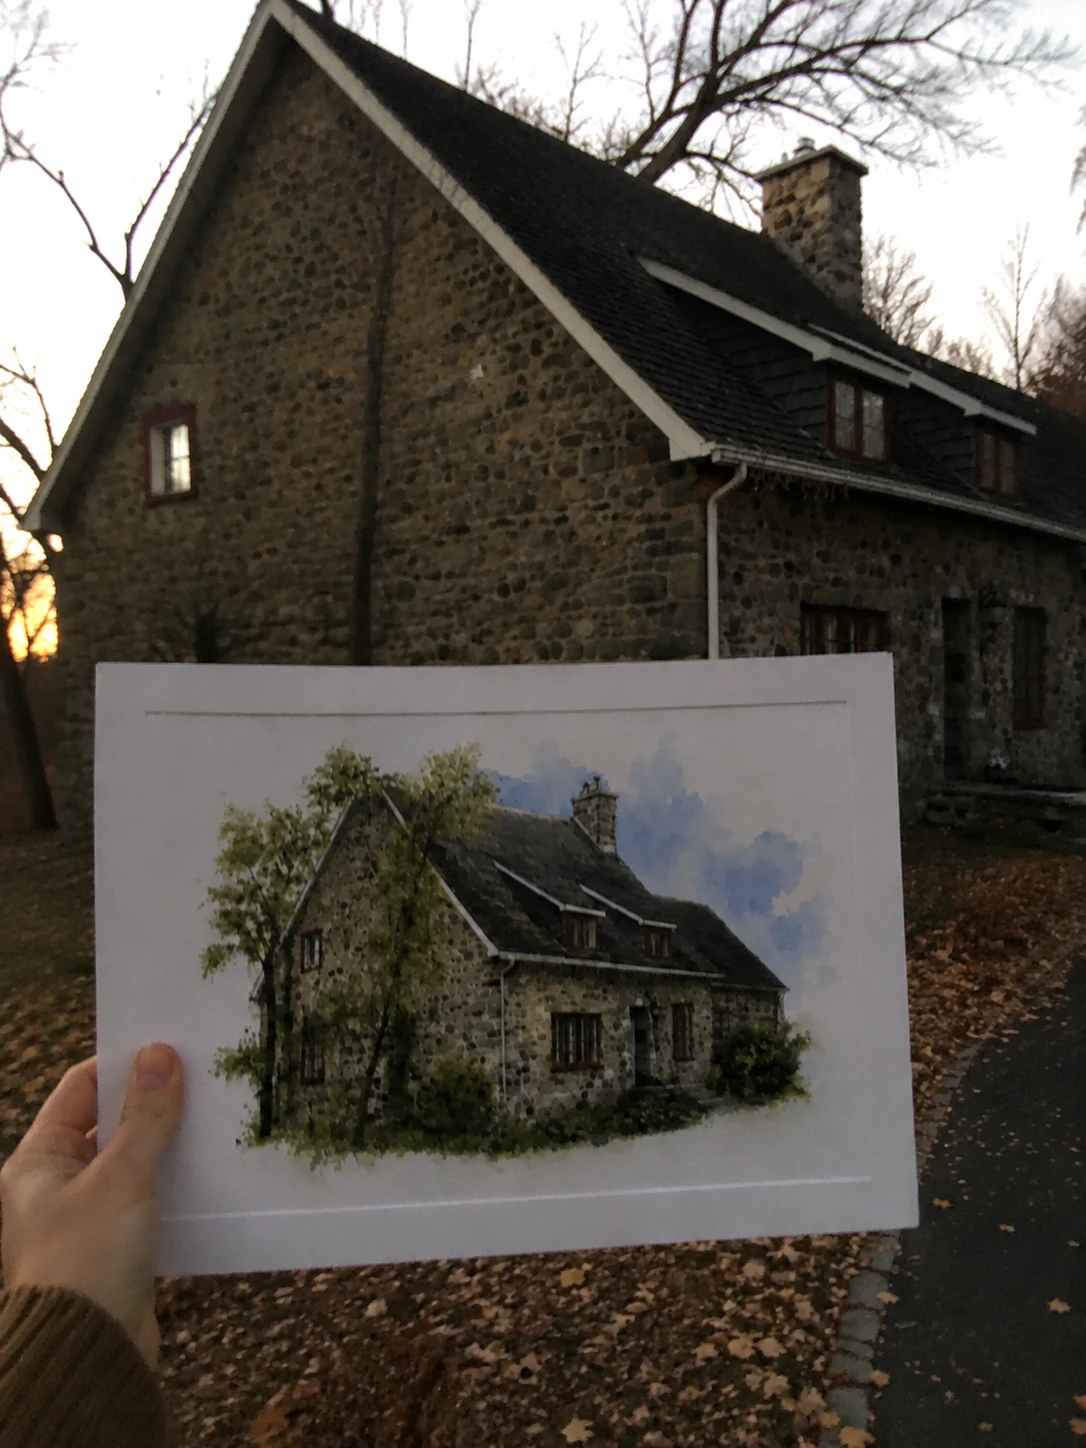

To sell AI pet portraits on Shopify, offer one clear portrait style on one print product, ask for one usable pet photo, show the generated result before checkout, and keep the approved artwork connected to the paid order. The product works when the shopper understands the transformation and you can reproduce the same result in print.
What is the product?
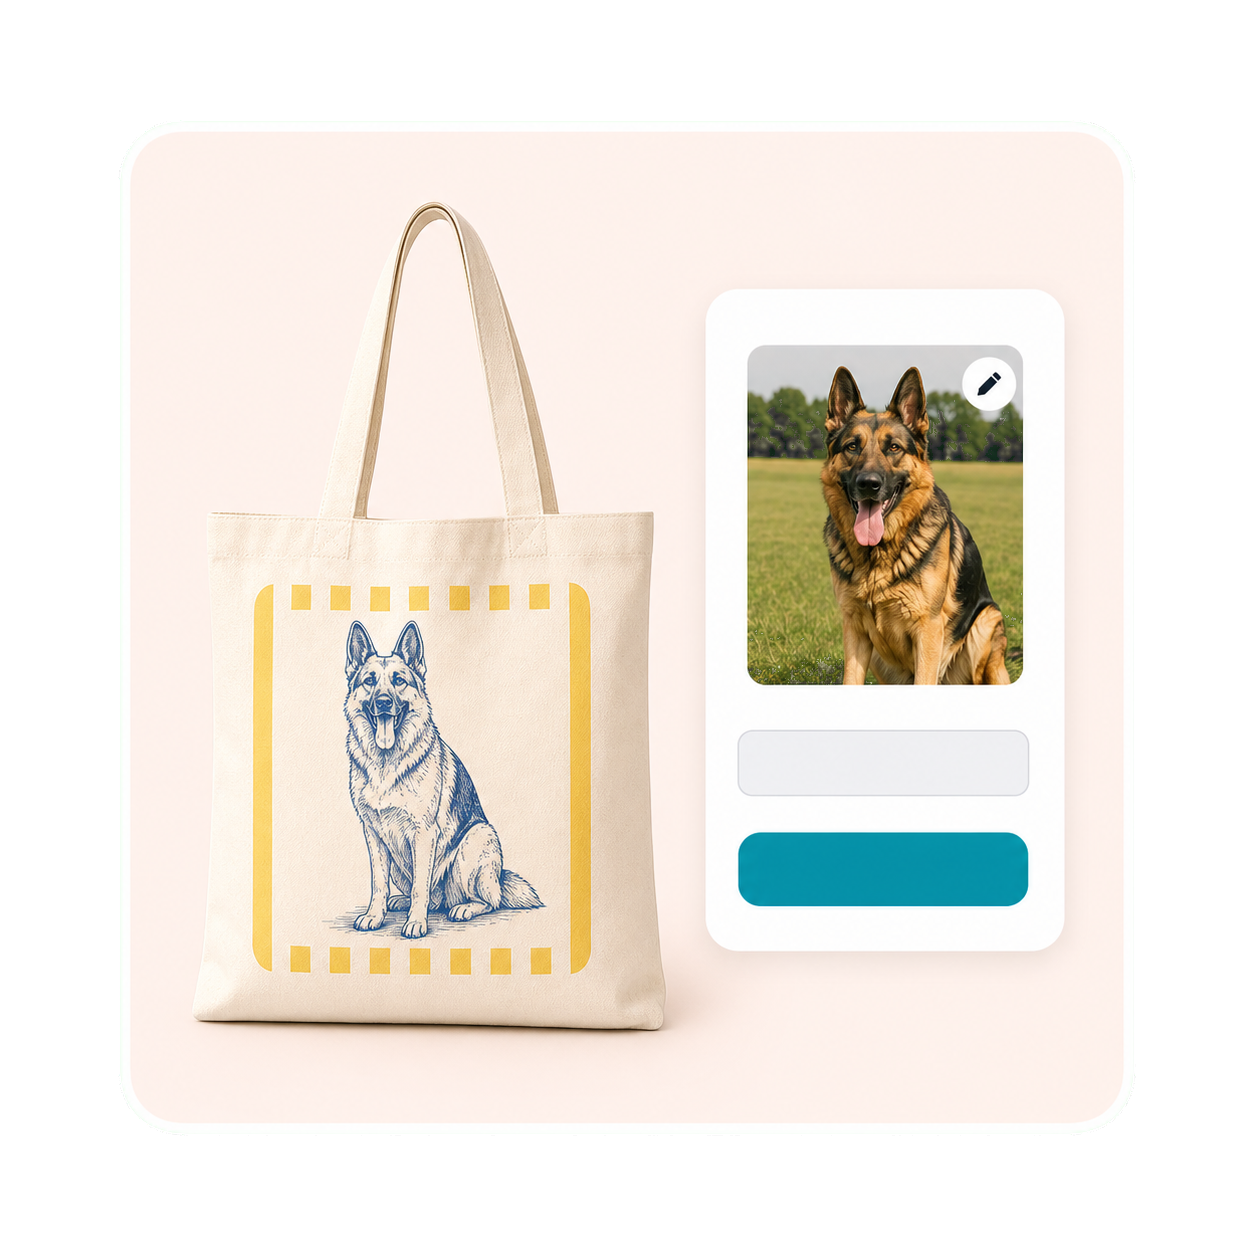
The simplest version is a personalized pet portrait print. A shopper uploads one photo of one pet, enters an optional name, and chooses a tested portrait style. The result is a wall-art product such as a poster, framed poster, or canvas.
Start with one pet, one style, and one product variant. That narrow offer is easier to explain on a Shopify product page and gives you fewer combinations to test. Add multiple pets, costumes, backgrounds, or new products only after the first listing survives real photos and a physical sample.
Build a pet-portrait product free
Why would shoppers buy it?
Pet owners already have the emotional input: a photo of an animal they love. Your offer turns that photo into a gift, memorial, adoption keepsake, or piece of wall art that feels specific to one pet rather than selected from a generic catalog. The buying occasion should lead the listing copy; “watercolor AI” is the mechanism, not the reason to care.
The buyer needs to trust three things before paying:
- the portrait will still look like their pet;
- they can see the crop, text, and product before checkout;
- the file sent to production will match what they approved.
Shopify describes pet gifts as a natural print-on-demand category because the supplier can produce and ship after an order. That removes inventory from the merchant’s job, but it does not remove the need to set clear photo rules, preview the result, and check the physical product. Shopify’s pet-gift guide is a useful category reference.
What result should the merchant expect?
After a good first launch, you should have a product that is easy to explain, quick to test, and bounded enough to operate without design work on every order. In practical terms, the dream outcome is:
- one product page that shows the source photo and finished item;
- a short input form instead of an open-ended design brief;
- a preview the shopper can approve before paying;
- a production asset tied to the Shopify line item and supplier variant;
- a margin model that includes generation retries, support, refunds, and reprints.
That is a workflow outcome, not a promise that every upload will generate a perfect portrait. A replacement-photo message and a controlled retry are part of the product.
Example: a watercolor pet portrait poster
Sell a vertical watercolor portrait on a framed poster. The shopper uploads one well-lit photo, enters the pet’s name, and chooses a light or dark background. The Blueprint creates the artwork without text; a controlled text layer adds the name so spelling and placement remain predictable.
The preview should show the artwork on the chosen poster before checkout. The production file should contain the print design only—not the room scene, frame, or mockup shadow—and should use the exact supplier variant shown to the shopper.
How to launch it step by step
- Choose one buying occasion. A memorial portrait needs different copy from a playful birthday gift. Pick one reason to buy for the first listing.
- Choose the exact print product. Record the supplier, variant, orientation, print area, bleed, safe area, sizes, and production cost before writing the prompt.
- Write photo rules before the upload. Ask for one clear image with the face and ears visible. Explain what happens when the photo is dark, blurry, or tightly cropped.
- Build the AI Blueprint. Fix the style, crop, subject count, background, text area, and retry limit. Do not give shoppers an open prompt box.
- Test difficult photos. Include dark and light coats, flat faces, long ears, side profiles, busy backgrounds, and poor crops. Save the failures and write the fallback messages.
- Connect the Shopify product. Run one example through upload, generation, preview, approval, cart, checkout, and order creation. Test a variant change after generation too.
- Validate the print file. Compare the approved artwork with the supplier’s current dimensions, file type, bleed, safe area, and selected variant. Printify says requirements vary by print area and recommends checking the product-specific template.
- Place a sample order. Inspect resemblance, crop, text, colour, material, packaging, and delivery time before buying ads or adding more styles.
The Shopify product-personalizer guide covers the app workflow. The POD personalization guide covers the supplier handoff.
Set photo guidelines before the Blueprint
A usable pet photo has enough light, a visible face and ears, limited blur, and enough space around the animal for the chosen crop. Tell shoppers what happens when the photo is dark, blurry, tightly cropped, or taken from an angle that hides important markings. If you accept several pets, state the maximum and explain whether separate photos can be combined.
Build and refine the Blueprint
Start from a pet-portrait style or product idea that already makes sense on Etsy. Use it to understand the occasion, visual treatment, format, and listing structure. Do not copy another seller’s artwork or listing.
Use a reference image you own or have permission to use when you need to communicate the style, composition, or level of detail. Create the first Blueprint in Personalize.design, generate a test, and inspect the eyes, markings, ears, pose, crop, background, and text. Then iterate on the instructions, reference image, model, input rules, output format, or text layer until the result is ready for real pet photos.
The AI design prompt generator can create a structured starting prompt from a reference design. Treat it as a starting point, then test the Blueprint with the breeds, coat patterns, and text lengths your product will accept.
Create a starting Blueprint with the AI design prompt generator
Check the output before fulfillment
Check every generation against the product you plan to sell:
- the pet is present and recognizable, including its eyes, markings, ears, and coat pattern;
- the face, paws, ears, and important details are not cut off or merged;
- the crop and composition fit the chosen poster ratio and print area;
- the name stays legible inside the safe area and is not baked into the generated artwork;
- the approved artwork can become a clean print file without a room scene, frame, or mockup shadow.
The first output is a test, not a promise. Keep refining the Blueprint when the model changes the pet’s identity or produces an image that looks good on screen but will not print cleanly.
See the buyer experience
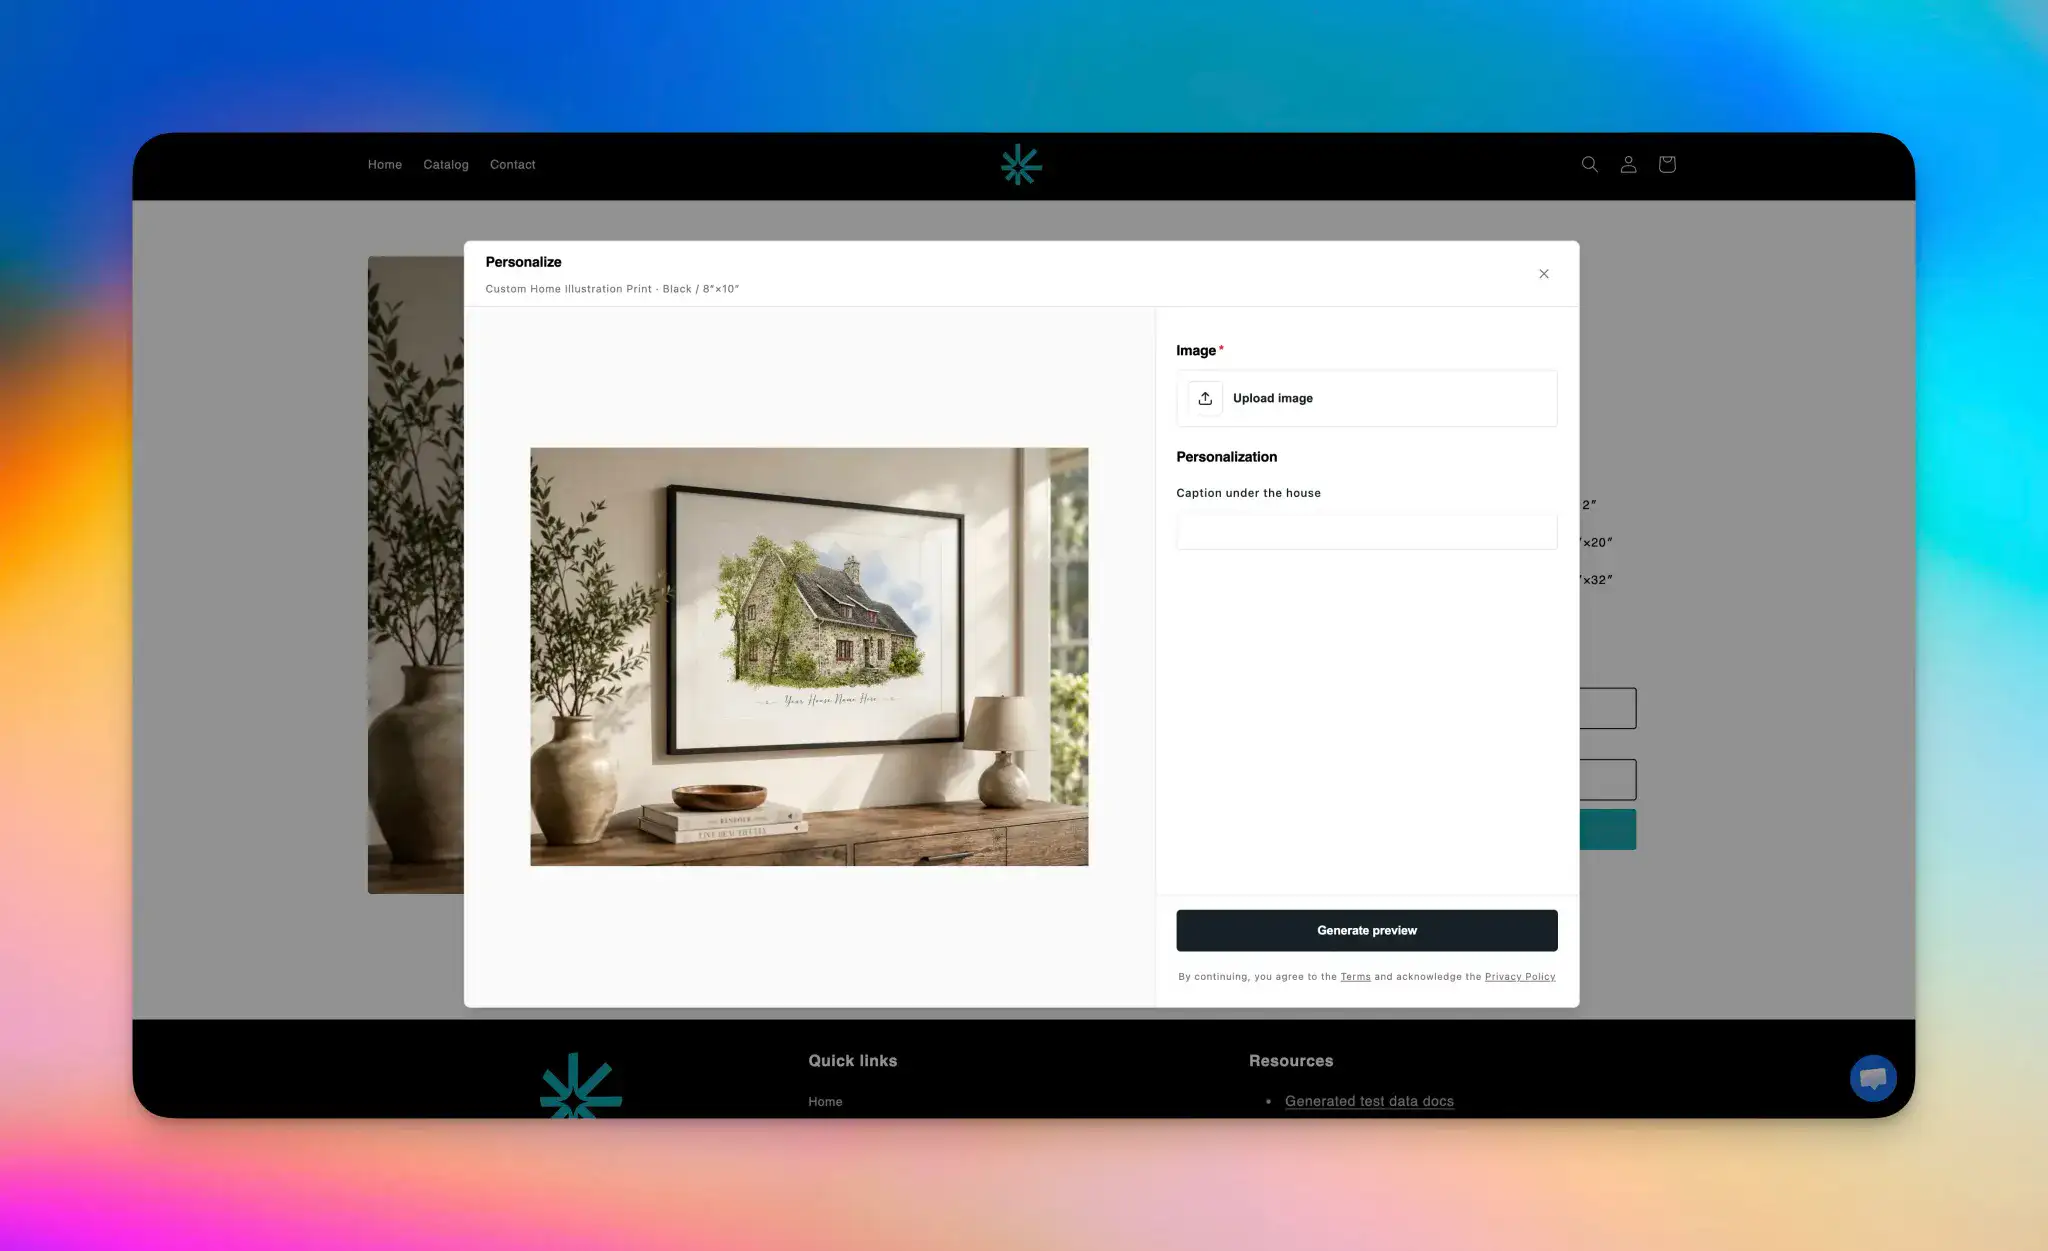
Want to see what the process looks like from the buyer’s side? Open the demo store: the shopper uploads an image, adds personalization details, generates a preview, and sees the final result on a real product mockup before checkout. This is the sequence your product page should make clear.
See the buyer experience in the demo store
What should the product page say?
Show the transformation before explaining the technology. Place a source photo beside the finished product, then answer these questions near the personalization form:
- Which pets and number of animals are supported?
- What makes a usable photo?
- Which parts can the shopper change: name, style, background, or crop?
- Will the shopper approve the artwork before checkout?
- How many retries are included?
- What happens when a photo is too dark or the portrait is not recognizable?
- What are the production and delivery estimates for the selected supplier?
Avoid “every photo works” language. A clear replacement-photo path is more trustworthy than silently generating a weak result.
What can go wrong?
| Risk | Control to add before launch |
|---|---|
| The photo is blurry or tightly cropped | Validate it before generation and show one specific correction |
| Important markings change | Keep the source visible during approval and offer a bounded retry |
| The style varies between orders | Offer a small set of tested Blueprints |
| The preview differs from the print file | Lock the approved artwork revision to the Shopify line item |
| The name leaves the safe area | Add text after generation and test the longest allowed name |
| The supplier variant changes | Hold the order for review instead of silently substituting a product |
What should you check before pricing it?
Your selling price needs to cover the blank product, printing, shipping, Shopify and payment fees, Personalize.design fees, AI generation, failed attempts, support, refunds, and reprints. Include abandoned preview sessions: a shopper can generate artwork and leave without buying.
Set a retry limit, choose a target gross margin, and model low, expected, and high-cost cases in the personalized product margin calculator. Do not copy another store’s price without matching its product, shipping market, and acquisition costs.