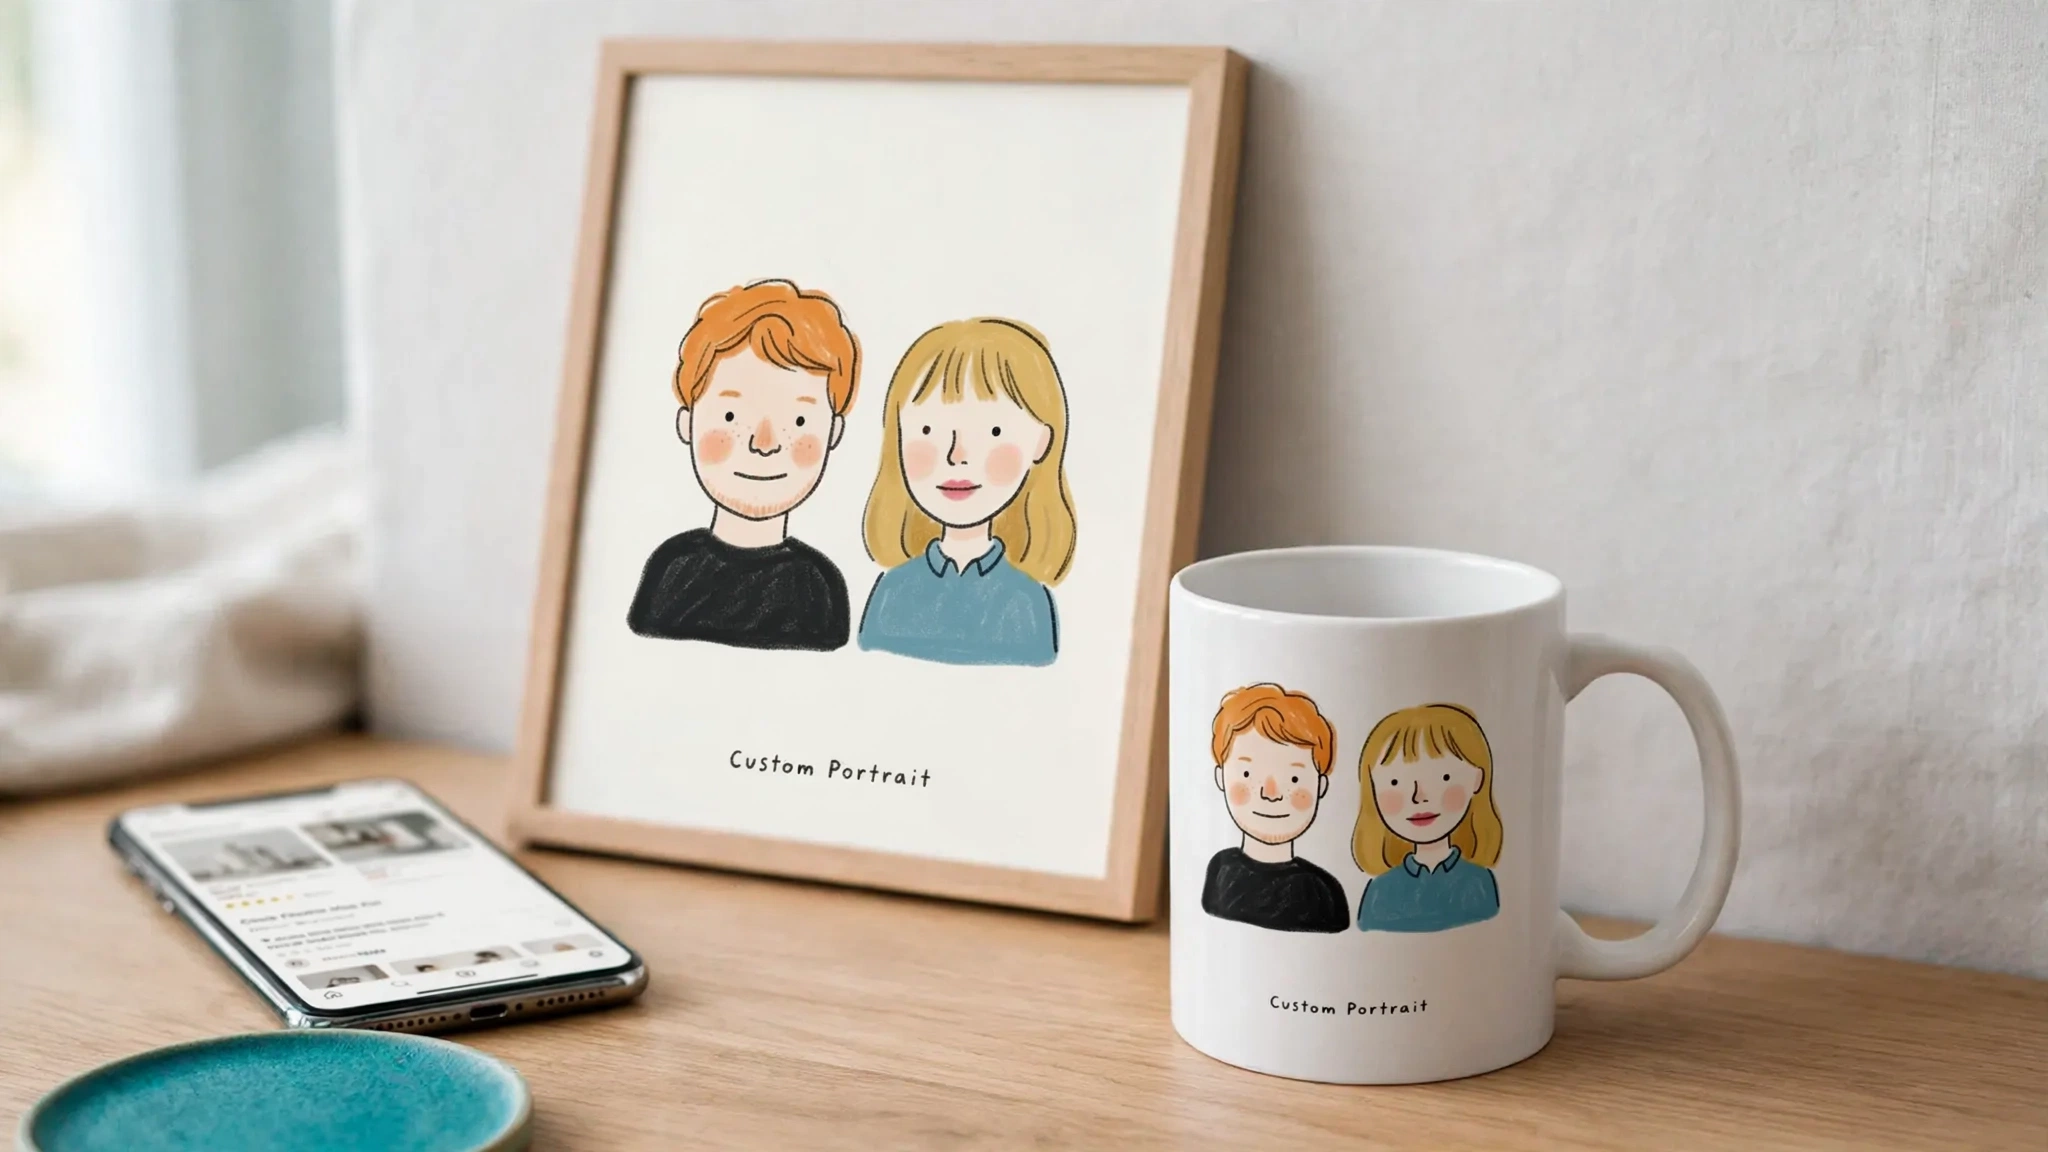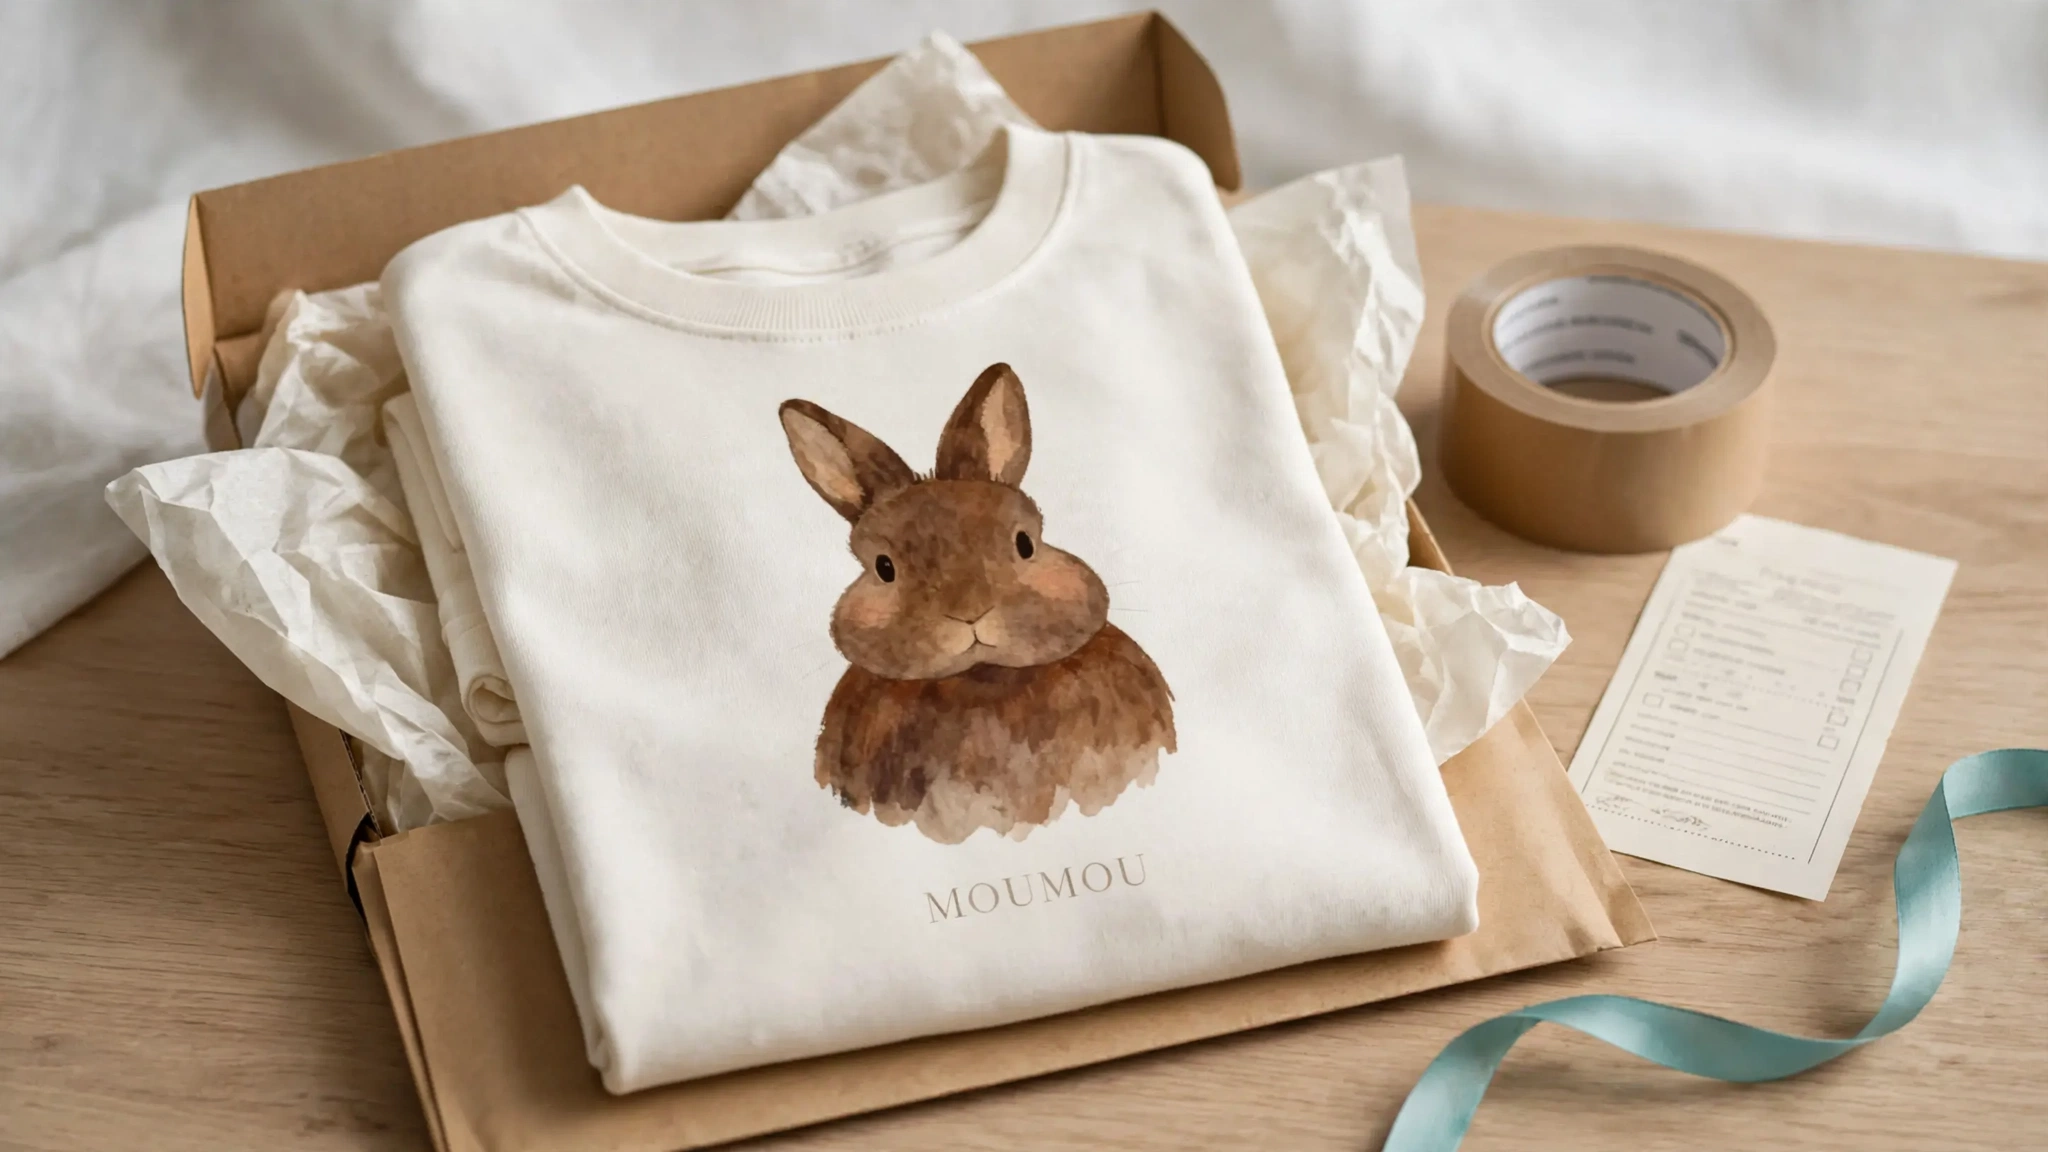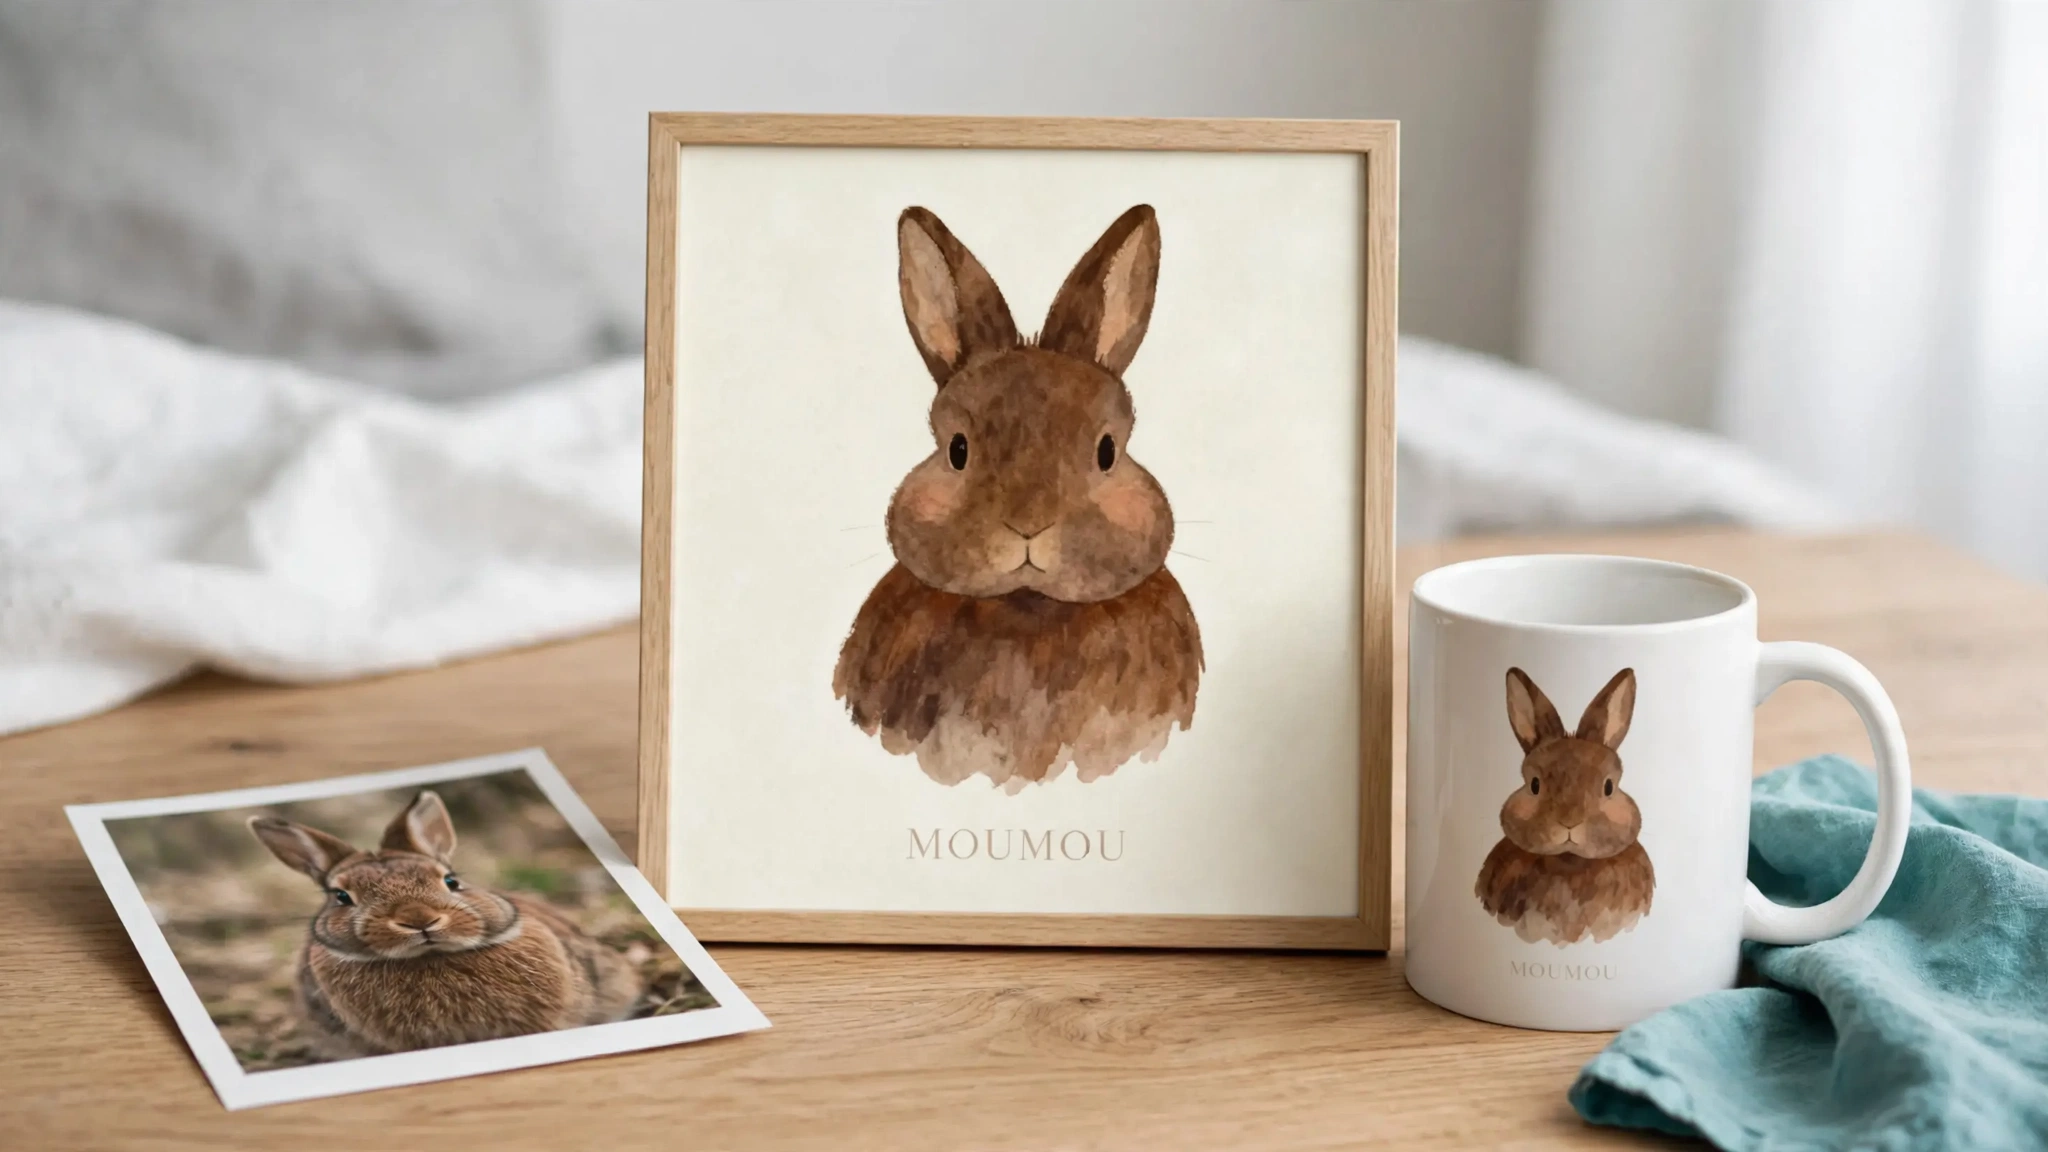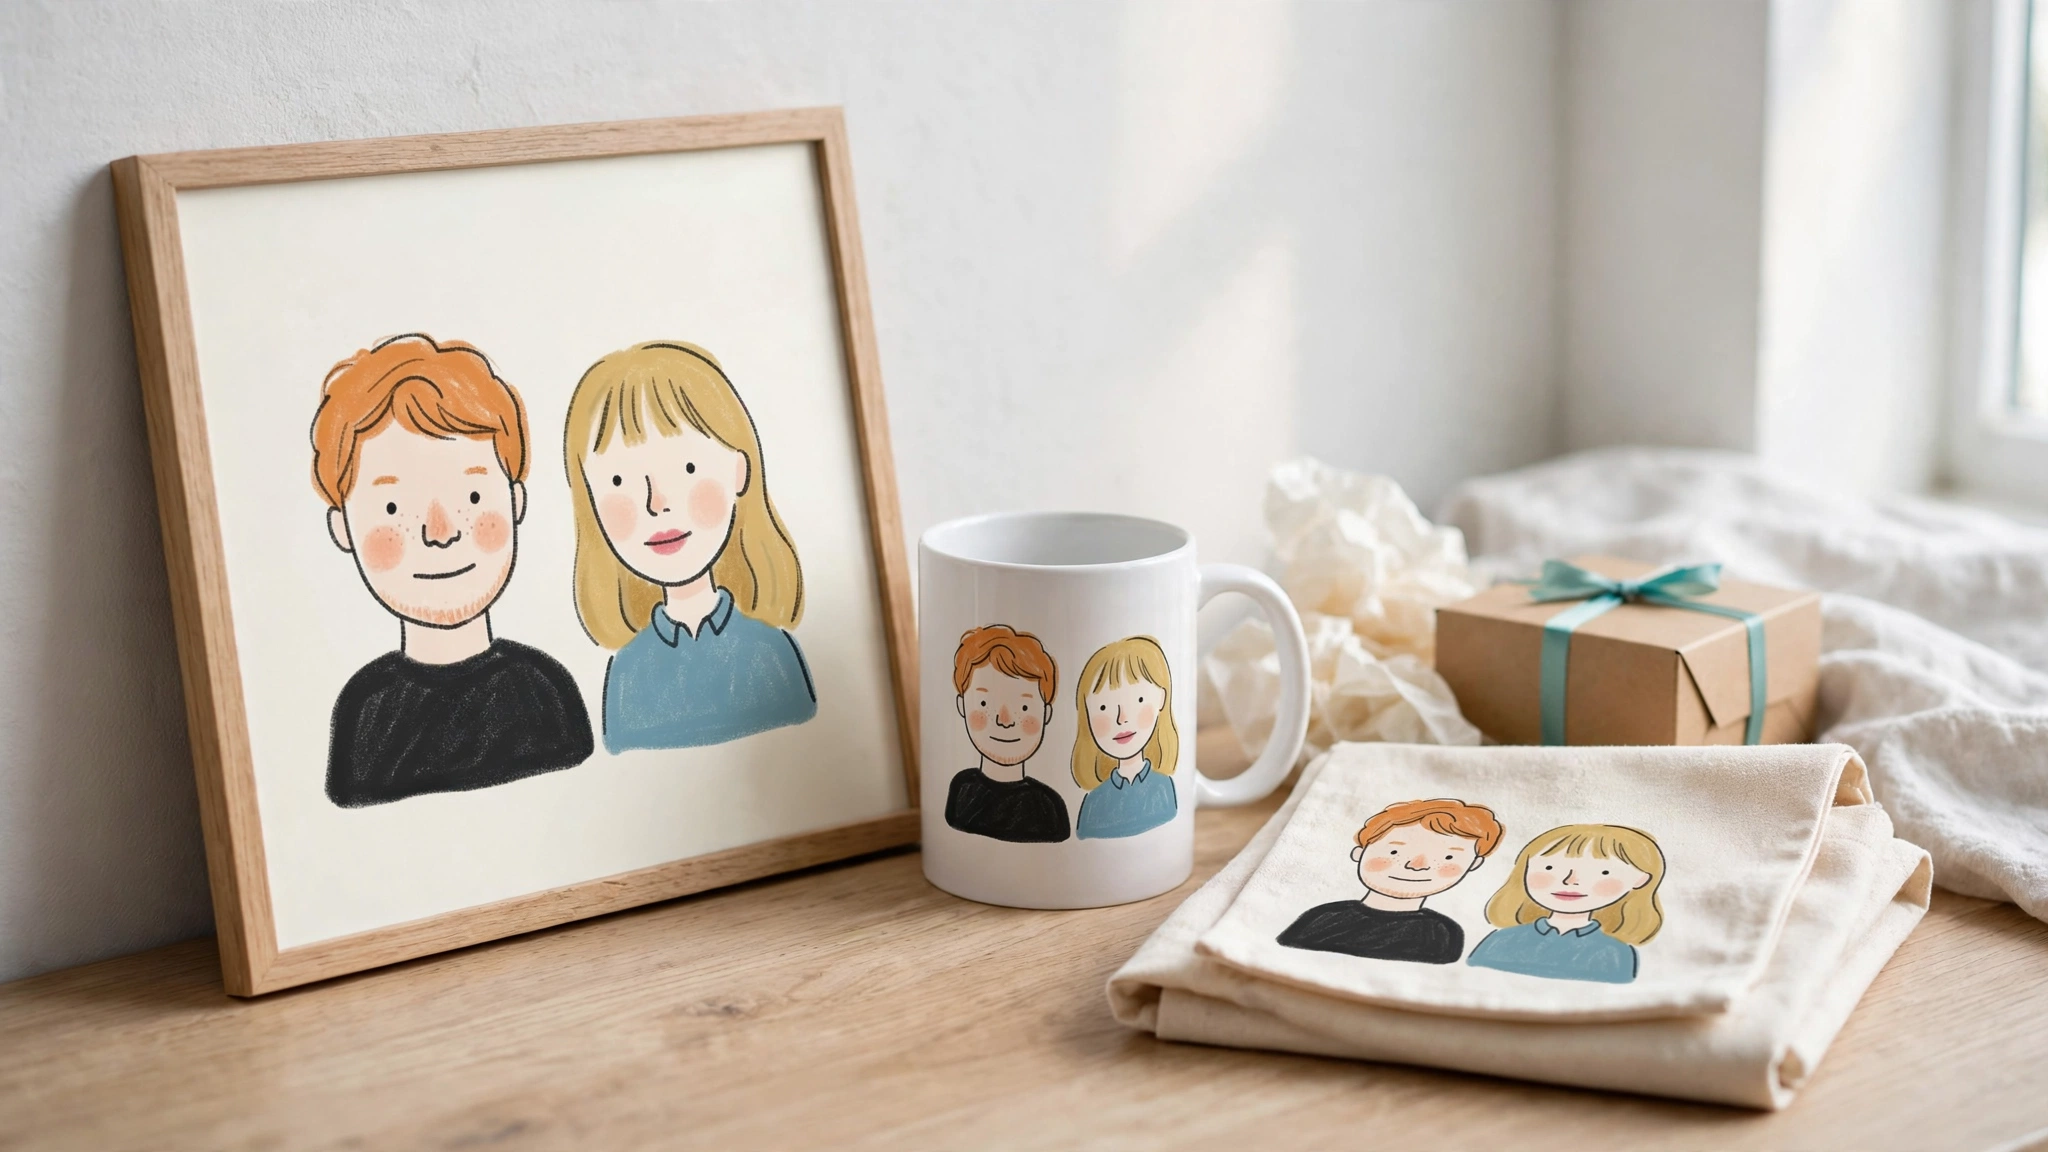
You can increase AOV with product personalization when the personalized version is a different, more valuable product: a portrait of the shopper’s own dog, a family ornament with real names, a memorial print. It works because a one-of-one item is hard to compare on price, is often bought as a gift, and is easy to pair with matching items. It fails when personalization is a $2 text surcharge on the same artwork every other store sells.
This guide is for Shopify print-on-demand merchants who already sell, or are about to. It covers the AOV math, how to price personalized products, five tactics, the mistakes that erase the gain, and a test plan you can run on one product.
Why so many POD stores have an AOV ceiling
Most POD stores share the same suppliers, blank catalogs and mockup styles. When two stores sell a similar mug with similar artwork, the shopper compares price and shipping. The usual responses to that comparison are discounts, free-shipping thresholds and “buy two” bundles, and each one gives margin away to lift order value.
Personalization changes the comparison. A mug with a portrait of a shopper’s own cat has no direct equivalent on the next tab, so the shopper judges it on how well it fits the gift, not on price alone.
What AOV is and how to calculate it
Average order value is revenue divided by the number of orders over a period:
AOV = revenue ÷ orders
You can also break it down as items per order × average item price. That split is useful because personalization can move either side: a higher price per item (premium personalized versions) or more items per order (matching gifts with the same design).
Two practical notes:
- Use one definition consistently. Shopify Analytics reports its own average order value metric, and different reports treat discounts, shipping and taxes differently. Pick the report you will use for the whole test and stick with it.
- Segment it. A store-wide AOV hides the effect. Compare orders that contain at least one personalized item with orders that contain none. Personalize.design adds a visible “Personalized: Yes” line item property to each personalized cart line. Shopify Analytics can’t filter on line item properties, so either tag those orders automatically (for example with a Shopify Flow workflow that adds a “personalized” order tag when a line item has that property; check the condition in your Flow editor) or export orders and filter by the property.
Worked example (illustrative numbers)
Say a store sells a generic pet-themed poster at $24 and adds an AI-personalized version of the same poster size at $39. Over one month:
| Segment | Orders | Items per order | Avg item price | AOV |
|---|---|---|---|---|
| No personalized item | 80 | 1.2 | $24.00 | $28.80 |
| At least one personalized item | 20 | 1.5 | $35.00 | $52.50 |
| Store-wide | 100 | 1.26 | about $26.60 | $33.54 |
These numbers are made up to show the mechanics, not results. The point is that store-wide AOV sits at $33.54, against $28.80 for orders without a personalized item, even though only 20% of orders were personalized. Run the same table on your own data.
Customization, personalization and AI-generated personalization
These terms get mixed up, and the difference matters for pricing:
- Customization: the shopper picks from options you prepared, such as color, size or a font. The artwork is the same for everyone.
- Personalization: the shopper adds something that belongs to them, such as a name, a date or a photo, placed into a template.
- AI-generated personalization: the shopper’s input becomes new artwork. A dog photo becomes a watercolor portrait in your style; a family’s names and city become an illustrated poster.
As you move down the list, the product becomes harder to compare and easier to price as premium. Production risk also goes up: you need to be sure the result looks right before it prints.
Low-value vs high-value personalization
| Low-value personalization | High-value personalization | |
|---|---|---|
| Example | Name in a standard font on stock artwork | Portrait of the shopper’s pet in a consistent illustrated style |
| What the shopper compares | Price and shipping against similar listings | Fit for the gift and the occasion |
| Typical pricing | Generic price plus a small surcharge | A separate premium product |
| Gift fit | Generic | High: birthdays, memorials, new homes, holidays |
| Pairs with matching items | Rarely | Often: mug, ornament, tote with the same artwork |
| Production risk | Low | Higher: needs a preview and an output check |
High-value personalization is where the AOV gain comes from. It also needs more control, which is why previews and generation limits appear in the tactics below.
How to price personalized products
Price from the full cost stack, then sanity-check against perceived value.
1. List every cost per unit:
- Supplier base cost and shipping you absorb
- Payment processing and platform fees
- Per-item personalization app fee, if your app charges one
- AI generation cost: cost per image × average previews per order, including previews by shoppers who don’t buy
- Background removal or upscaling, if used
- An allowance for reprints and the time you spend reviewing orders
2. Apply your target margin, with percentage fees in the divisor:
Price = fixed per-unit costs ÷ (1 − target margin − percentage fees)
Payment, platform and any percentage-based app fees grow with the price, so they can’t sit in the fixed-cost total. At $18 of fixed cost per unit, a 45% target margin and 5% in percentage fees: $18 ÷ (1 − 0.45 − 0.05) = $18 ÷ 0.50 = $36, which you might round up to $39.
3. Check the price against the alternative. Ask what the shopper would pay for a commissioned illustration or a local engraving. That is the comparison a strong personalized product invites, not the generic poster.
Pricing worksheet
| Line | Generic poster | Personalized poster |
|---|---|---|
| Supplier cost + shipping | your figure | same, or higher for framed |
| Personalization app fee per item (fixed) | none | your app’s current rate |
| AI cost (cost per image × previews per order) | none | your rate × your average |
| Review and reprint allowance | low | a fixed amount per unit |
| Payment, platform and % app fees | enter as % in the divisor | enter as % in the divisor |
| Target margin | your target | same target or higher |
| Price | fixed costs ÷ (1 − margin − % fees) | fixed costs ÷ (1 − margin − % fees), then round to a premium price point |
Premium variant or paid add-on?
Personalization apps usually support two models (see Shopify product options vs AI personalization for how they differ). Use this rule:
- Premium version (separate product or variant): use it when personalization changes the whole artwork. An AI pet portrait is a different product from a generic dog poster, so price it as one.
- Paid add-on: use it when the extra is small and countable, such as charging a few dollars per extra name or for a foil finish. Teeinblue and Customily both document ways to add a price to an option.
Add-ons are easy to bolt onto an existing catalog. Premium versions protect your price better, because the shopper never sees a “base price plus extras” calculation.
Five ways to increase AOV with product personalization
1. Sell a premium personalized version next to the generic one
Keep your generic product and add a personalized version as a separate listing or variant at a clearly higher price. The generic version anchors the price; the personalized one shows what the extra money buys.
Good candidates are products where the artwork is the main value: posters, canvases, framed prints, mugs and ornaments. A personalized pet portrait and a family poster are two common starting points. For apparel, start with simple placements on flat products; complex folds make the artwork harder to judge.
Keep the input short. A photo upload plus one or two choices (pet name, style) is usually enough. Every extra field is another place for the shopper to drop off.
2. Show the personalized result before checkout
A premium price needs proof. If the shopper sees only a form and a stock mockup, they are paying for something they cannot see. Baymard Institute puts the documented average cart abandonment rate at about 70% across 50 studies (last updated September 2025); uncertainty about the product is only one of many causes, but a preview removes it: the shopper knows what they will receive.
There are two kinds of preview:
- Live preview: the shopper’s text or photo is placed onto a template in real time. Fast and cheap, but the artwork is the same for everyone.
- AI-generated preview: the shopper’s input produces new artwork, which is then shown on the product mockup. It takes longer and costs money per image, but it shows the actual one-of-one result the shopper is paying a premium for.
For a deeper comparison, see live preview vs AI-generated preview.
For high-value personalization, the generated preview is what justifies the price. It also gives you a record of what the shopper saw and approved.
3. Put the same design on more than one product
Once a shopper has a portrait of their dog they like, a mug, an ornament or a tote with the same artwork is an easy second item. This raises items per order without a discount.
Ways to set it up on Shopify today:
- Offer the matching products on the product page or in the cart through your theme or an upsell app.
- Use a “complete the set” collection for gift seasons.
- Make sure each matching item is fulfilled from the same artwork, so the set actually matches.
Check how your personalization app handles this before you promise it. Some apps carry personalization across cart cross-sells; others require the shopper to personalize each product separately. In Personalize.design, each product is personalized and fulfilled on its own; there is no built-in bundle or cart cross-sell feature today.
4. Offer controlled upgrades, not open-ended options
Upgrades that work well with personalized products:
- Size and format: poster to framed print to canvas. This is the cleanest upgrade because it uses your supplier’s existing variants.
- Extra elements: an additional pet or name, priced per element.
- Rush handling: only if your supplier and review process can actually deliver it.
- Gift presentation: only if your fulfillment path supports it.
Keep options few and countable. Shopify raised the limit to 2,048 variants per product for all merchants in October 2025 (Shopify changelog), but your POD supplier or personalization app may cap how many variants you can publish. Plan your option structure before you build listings.
5. Set generation limits so previews don’t eat the margin
This step only matters once previews are AI-generated. Every generated preview has a cost, whether the shopper buys or not. Without limits, a few shoppers regenerating dozens of times can erase the margin on the orders you do get.
Controls to set before launch:
- Previews per product per shopper. Enough to explore, not unlimited.
- Previews per session, with a reset window.
- A monthly AI budget for the whole store.
- A clear message to the shopper when they reach a limit, instead of a silent failure.
- Failed-generation handling, so a failed preview can be retried without charging you twice.
In Personalize.design, shopper preview limits default to 5 previews per product and 15 per session with a 60-minute reset; you can change all three in Settings. Merchants can set an optional monthly budget for paid usage, and receive an email when remaining previews run low (this is about shopper preview limits, not the budget).
Seven mistakes that cancel the AOV gain
- A small surcharge on generic artwork. The product stays comparable, so the surcharge reads as a fee. Price a different product instead.
- No preview, too many fields, or a preview that doesn’t match the print. Ask only for what changes the result; a photo, a name and a style choice usually cover it. Shoppers who are surprised by the delivered product ask for refunds, so check output on the actual print area before launch.
- Leaving app and AI fees out of the price. Per-item fees and per-image AI costs are small individually and visible in your margin at volume. Some personalization apps also charge per order item, so read the pricing terms for how they count.
- Discounting the personalized version. A sitewide discount on a one-of-one product teaches shoppers to wait and undercuts the reason it was priced higher. Discount generic items if you must.
- Measuring AOV alone. A higher AOV with a lower conversion rate and more reprints can still lose money. Track contribution margin per session.
- Manual fulfillment after payment. If you download and upload artwork by hand for every order, the premium turns into labor. Route print files to the supplier automatically.
- Rolling out to the whole catalog too early. Get one product cleanly through a full fulfillment cycle before you personalize more of the catalog.
Print-on-demand AOV boosters: free-shipping thresholds and post-purchase upsells
Free-shipping thresholds work with personalized products when the threshold sits just above the price of one personalized item, so a matching second item clears it. Check the break-even: the margin on the extra item must cover the shipping you now absorb. If your personalized poster is $39 and the threshold is $50, a $15 matching ornament clears it; if your threshold is $75, most shoppers won’t bother.
Post-purchase offers (one-click additions after payment) are a natural fit for “add the same design on a mug”. Make sure any post-purchase item still reaches fulfillment with the right artwork, and test it with a real order before running it at scale.
How to test whether personalization raises your AOV
Here is a test design you can run with normal Shopify reports.
- Record a baseline. Pull AOV, conversion rate and refund rate for the last 60 to 90 days, for the store and for the product group you will change.
- Pick one product group. Launch the personalized premium version on one group (for example, pet posters). Leave a comparable group unchanged as your holdout.
- Run it long enough. At least four weeks, and avoid starting just before a major gifting holiday unless the holdout spans the same dates. With fewer than about 100 orders per segment, treat results as directional; extend the test or compare margin per session over a longer window before scaling.
- Compare segments. AOV for orders with and without a personalized item, conversion rate of the changed group vs the holdout, and contribution margin per session.
- Include the costs that arrive late. Reprints, refunds and support time show up after fulfillment. Wait for one full fulfillment cycle before deciding.
- Decide on margin, not AOV. Scale if margin per session went up. Adjust price or fields if AOV rose but conversion dropped more than the margin gained.
Risks to plan for
- Returns and reprints. State your policy for personalized items on the product page before checkout. Know your supplier’s reprint rules for print defects.
- Shopper approval. Make the preview the approval point, and keep a record of what was shown.
- Lead times. Personalized items may need a review step. Don’t promise rush delivery your process can’t meet.
- Rights to uploads. Shoppers upload photos of pets, people and homes. Your terms should cover what you may do with them; get advice from a qualified lawyer for your markets rather than copying another store’s wording.
- Print quality. Generated artwork must suit the print size. Check resolution on the real print area before you sell a large format.
Include app fees in the cost stack
Per-item personalization app fees vary by vendor, plan and volume, and some apps charge a percentage per sale instead; add yours to the cost stack above. For reference, Personalize.design charges $0.45 per personalized item on top of the $29/month Launch plan, plus AI usage for generated previews, and new stores start with a 14-day trial (see pricing). For a vendor-by-vendor comparison, see the best Shopify product personalization apps or our Teeinblue alternative page.
A six-step workflow to test one premium personalized product
If you want to try AI-generated personalization on one product, this is the workflow in Personalize.design:
- Connect your Shopify store and your Printify or Printful account, then sync the product you want to personalize.
- Create a Blueprint, a reusable AI prompt template with shopper fields. Start from the starter library (for example “Cozy Pet Watercolor”) or draft a prompt from an existing design with the AI design prompt generator. Fields can be text, number, color or choice; the shopper’s photo is a storefront upload.
- Test-generate up to four outputs per run, with a cost estimate, before any shopper sees it.
- Set generation limits in Settings and an optional monthly budget for paid usage on the Billing & usage page.
- Publish personalization on the product. Shoppers use the Personalize button on the product page, see a generated preview on the mockup, and add it to the cart.
- Let paid orders flow to your supplier. When the artwork is ready, the order item is submitted to the supplier automatically. If something blocks it, the order shows Action required and you can review, replace the final file or retry.
For the full setup, read how to sell AI-personalized products on Shopify or the print-on-demand workflow guide.
Frequently asked questions
Does product personalization increase AOV?
It can, but not automatically. Personalization raises AOV when it makes the product more specific and giftable, so shoppers accept a higher price or buy matching items. A small surcharge on a generic product rarely moves AOV and can hurt conversion. There is no reliable public benchmark for the size of the lift, so measure it on your own store.
How much should I charge for a personalized product?
Add up the fixed per-unit costs (supplier, shipping you absorb, per-item app fee, AI cost, review and reprint allowance), then use price = fixed costs ÷ (1 − target margin − percentage fees). Check the result against what the personalized version is worth to the buyer, and price it as a separate premium product rather than the generic price plus a dollar or two.
What is a good AOV for a print-on-demand store?
There is no single good number: AOV depends on your products, price points and shipping policy. Benchmark against your own baseline instead. Take your AOV for the last 60 to 90 days, split it into items per order and average item price, and judge any change against that baseline and against margin per session.
Which POD products are best for personalization?
Products where the artwork is the main value: posters, canvases, framed prints, mugs and ornaments. They have a flat, visible print area, suit gifts, and pair well as matching sets. Start with one of them before adding apparel, where folds and placement make the result harder to judge.
How many free AI previews should I allow per shopper?
Enough to explore, not unlimited. Personalize.design defaults to 5 previews per product and 15 per session with a 60-minute reset. Start there, then check your average previews per order: if most buyers stop after one or two, you can lower the limit; if many shoppers hit it right before buying, raise it slightly.
Are personalized products returnable?
Many stores make personalized items non-returnable except for damage or defects, but the rules depend on your markets and your supplier’s reprint policy. State your policy before checkout and check local consumer law with a qualified advisor.
Start with one premium product
You don’t need to personalize your whole catalog to see whether this works. Pick one product where the artwork is the value, price the personalized version as a premium product, set preview limits and a budget for AI usage, and measure margin per session against a holdout for a month.
Install Personalize.design on Shopify

Written by Kévin D
Founder, product designer and merchant. We turn practical product lessons into clearer merchant workflows.