To sell AI-personalized products on Shopify, follow eight steps: pick one narrow product, choose a POD product and supplier, build a reusable prompt template, test the output, assign it to the product, show a preview before add to cart, cap AI preview costs, and route paid orders to fulfillment. Making one good AI image is the easy part. The work is making that image repeatable, previewable, buyable, and printable for every shopper.
This guide walks through the full workflow with a running example: a personalized pet portrait poster sold on Shopify and printed through Printify or Printful. If you first want the category explained, read what an AI product personalizer is. This article is the build checklist.
Which kind of AI personalization are you selling?
AI personalization covers three different products, and picking the wrong one causes most launch problems.
| Model | Who uses AI | What the shopper does | Best for | Main risk |
|---|---|---|---|---|
| Merchant-side AI design | You, before listing | Picks a finished design | Catalog expansion, trend testing | Not personalized per shopper |
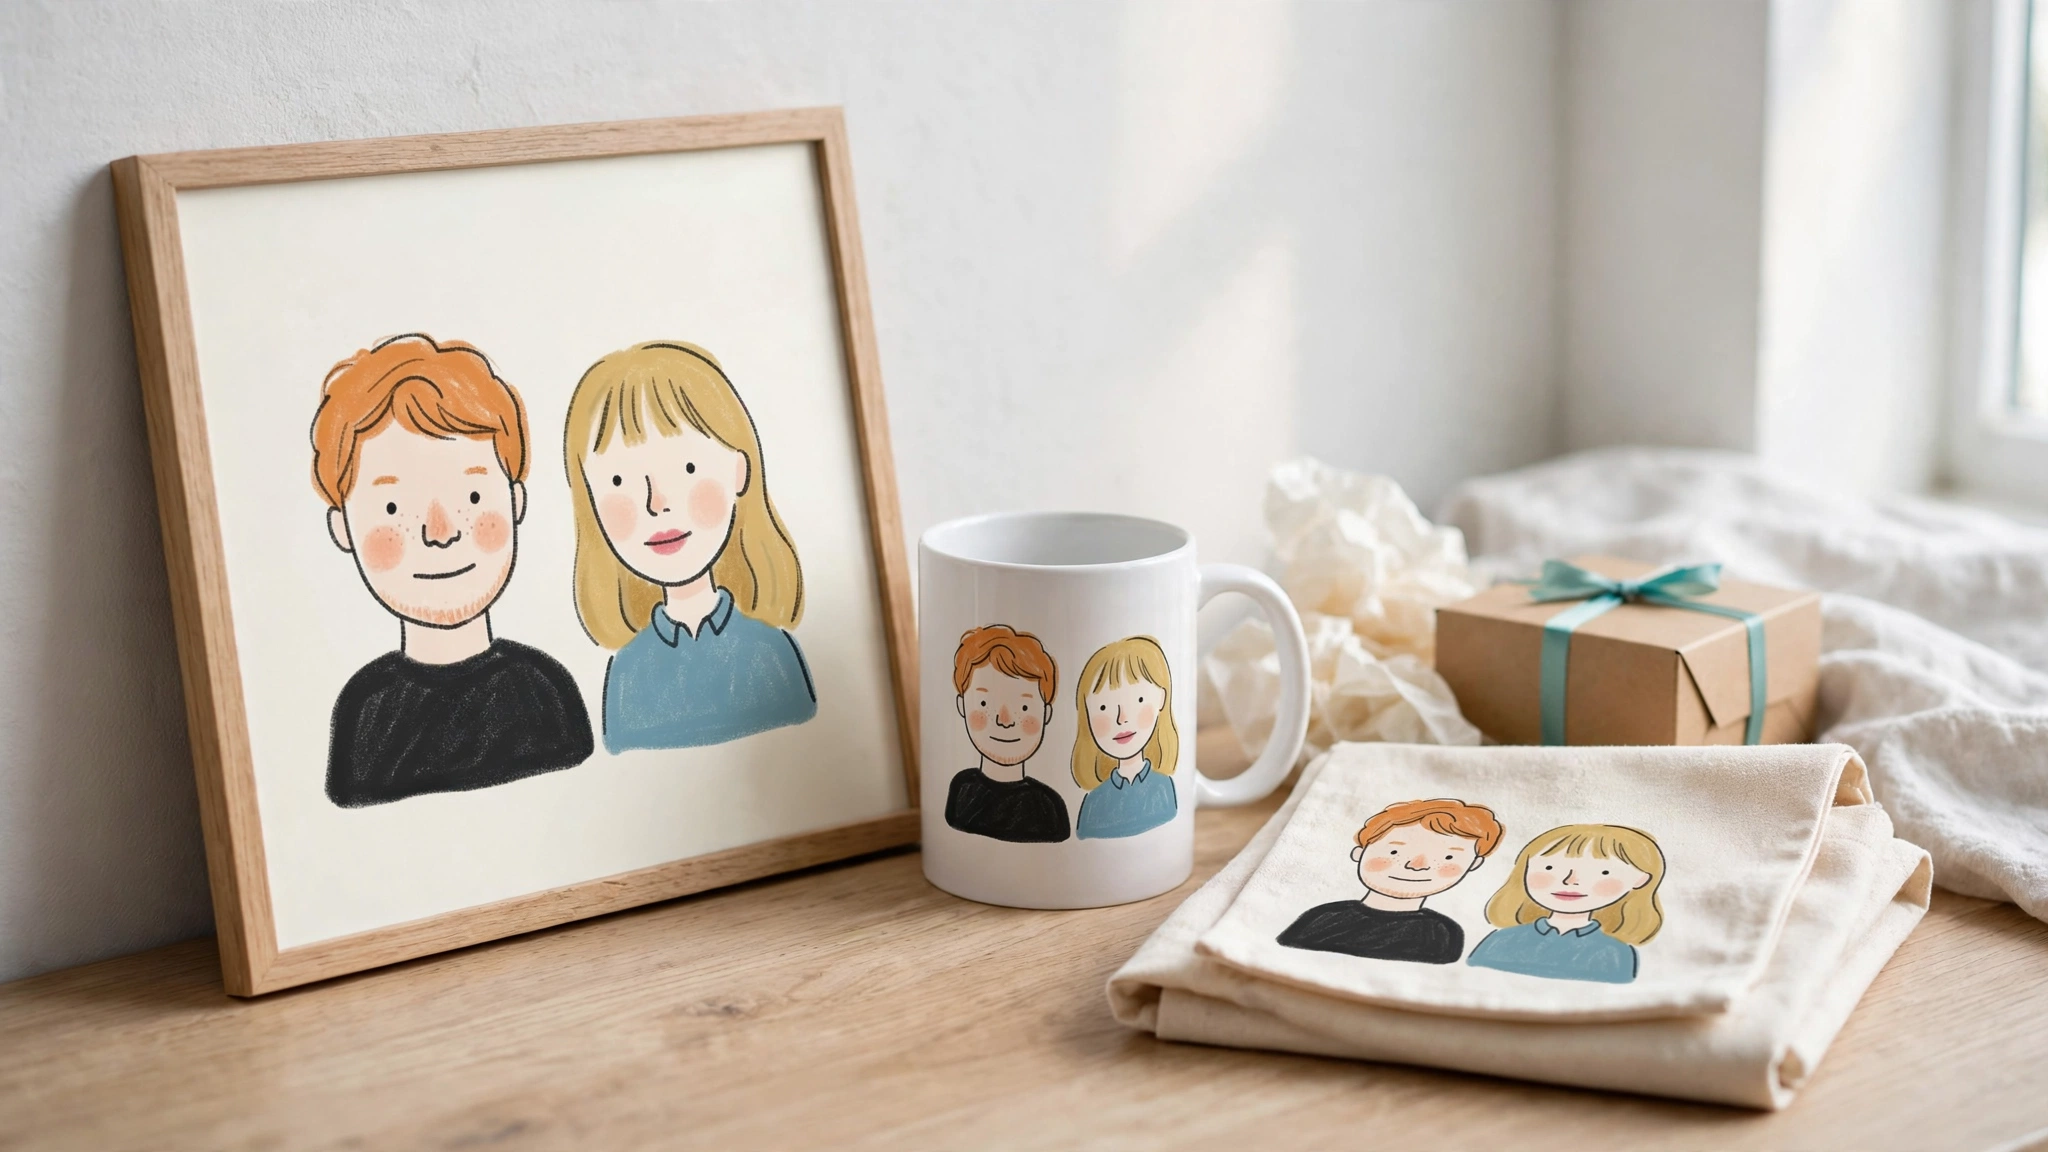
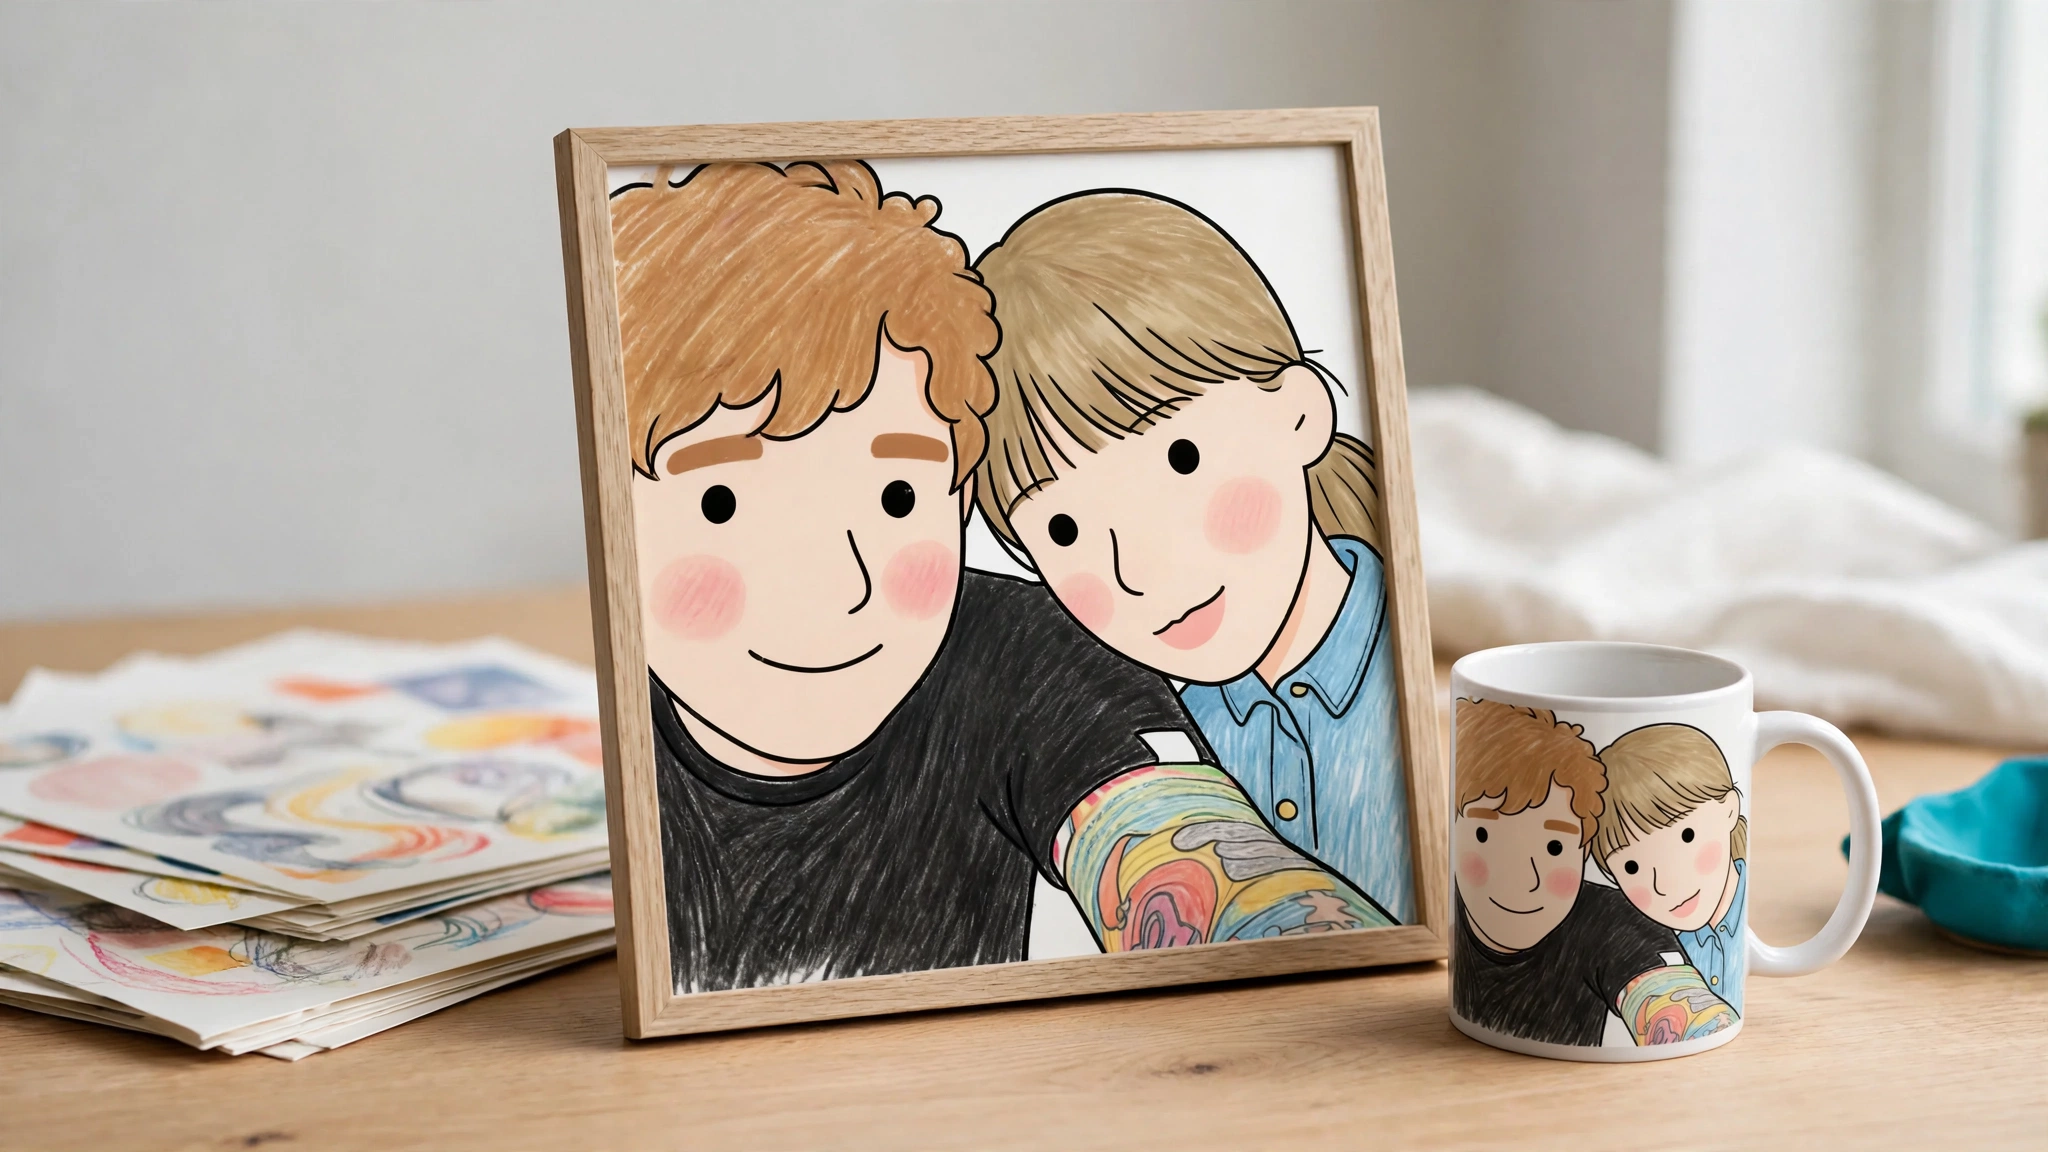
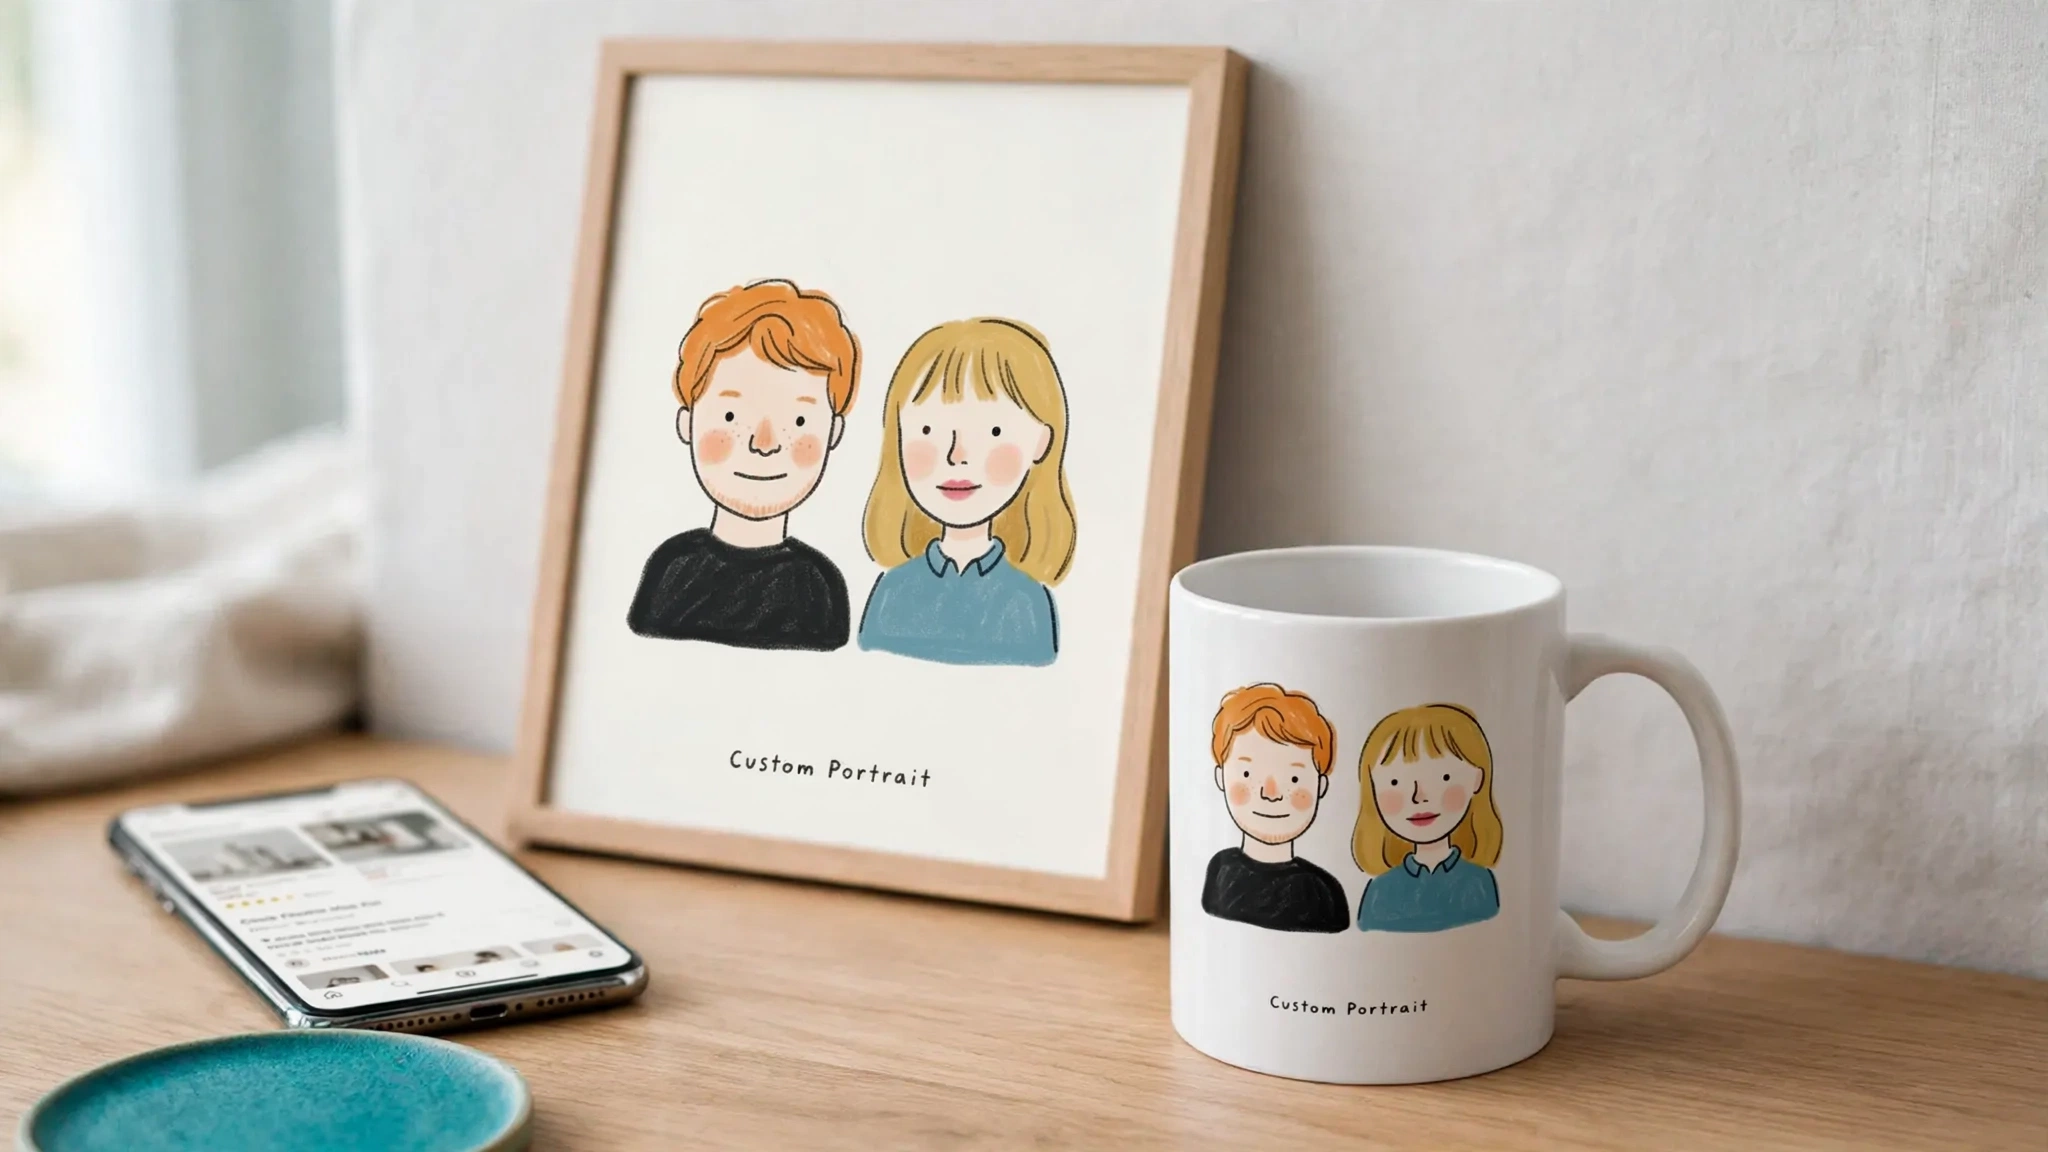
| Shopper-input AI generation with preview | The app, at the shopper’s request | Uploads a photo or fills fields, sees a generated preview, then buys | Pet portraits, family posters, memorial gifts, house portraits | AI cost per preview, output consistency |
| AI-assisted manual personalization | You or your supplier, after the order | Types text or uploads an image | Name and photo placement on fixed layouts | Manual review per order |
This guide covers the second model: the shopper provides input, AI generates new artwork, the shopper approves a preview, and the order carries that artwork to production.
Where Printify’s own personalization fits
Printify offers personalization for Shopify stores, described in its personalization help article and its AI-assisted personalization article (both checked on October 10, 2026). As described in Printify’s help center, both options place shopper text or images into a product layout. If you want AI to generate a new illustration from a shopper’s photo, look for an app built for that. These pages change often, so check current scope there. For a deeper look, see how Printify AI personalization works for Shopify POD stores.
Do you need an app for Shopify AI product personalization?
Shopify handles fixed choices well. As of October 2025, products can have up to 2,048 variants, up from 100. Apps that do not use Shopify’s GraphQL product APIs may behave poorly above 100 variants, so check your personalization app and supplier integration before building a large variant matrix.
You need an app when you want any of these:
- photo uploads from the shopper
- free-text fields that change the artwork
- a generated preview before checkout
- a unique print file per order sent to your supplier
Shopify’s native product options cover fixed choices, but they cannot take a photo upload, generate artwork or send a per-order print file. For a side-by-side, see Shopify product options vs AI personalization.
Step 1: Pick one narrow product idea
The best AI personalized products start with one product, one buyer, and one visual promise. A narrow promise is easier to prompt, easier to preview, and easier to sell.
Good first products:
- Pet portrait poster or mug. The buyer uploads a pet photo, picks a style, and adds the pet’s name. It suits gifting and repeat occasions. See the pet portrait use case.
- Memorial canvas. Same mechanics as a pet portrait, with a softer style and an emotional reason to buy.
- Couple or family poster. Two photos or one group photo plus a date or short phrase (“Est. 2019”).
- Family Christmas ornament. A small print area and seasonal demand. Test early, because small surfaces punish busy artwork.
- House portrait print. The buyer uploads a photo of their home and the AI turns it into a watercolor or line-art sketch. See the house portrait use case.
Avoid apparel with complex folds for your first launch. Flat surfaces such as posters, canvas, and mugs make it easier to judge whether the preview matches the printed product.
Checklist for your first idea:
- Can the buyer describe what they want in one photo plus two or three choices?
- Does the style hold up at the product’s print size?
- Is there a clear occasion (birthday, memorial, holiday, new home)?
- Does it clear your margin at a realistic price? See the margin example in Step 7.
Step 2: Choose a POD product and supplier
Pick the supplier product before you write a prompt, because the print area decides the artwork’s shape.
For the running example, choose a poster from Printify or Printful, from a print provider you trust. Then:
- Check the print area. Note its dimensions and aspect ratio. Different print providers can use different print-area sizes for the same blank product.
- Check the guide assets. For a first test, choose a product where the supplier exposes the views and placeholders you need to position artwork. Skip products with missing or unclear guides.
- Sync the product. Connect your supplier account to your personalization app and sync the product from Shopify. Confirm each print surface you plan to use is ready before you build on it.
- Keep variants simple. Start with two or three sizes. You can add more after the first orders.
In Personalize.design: Printify and Printful are both supported. You connect Printify with an API token and pick your shop, or connect Printful by authorizing your store. Print surfaces are set up from the supplier’s print-area data, and each surface shows whether its placement guide is available.
Step 3: Build a reusable prompt template
A one-off prompt gets you one image. A reusable template gets you a product: a prompt, the customer fields that feed it, an optional reference image, model settings, and a publish state.
For the pet portrait poster:
- Shopper photo. The pet photo is a storefront upload, not a typed field. Decide which formats and file sizes you accept.
- Customer fields. Use a text field for the pet’s name (with a length limit), a choice field for style, optionally a color field for the background drawn from a palette you control, and, for couple or family products, a short-phrase text field.
- Reference image. If the selected model supports it, add a merchant reference image to anchor the style.
- Aspect ratio. Match it to the print area from Step 2.
Here is a complete prompt you can copy and adapt:
Create a premium print-ready {{style}} portrait of the pet in the uploaded photo. Keep its exact markings, eye color, ear shape and pose. Centered composition with 10% safe margin on all sides, {{background_color}} plain background. Below the portrait, add the name “{{pet_name}}” in a clean serif font. No other text, no frame, no watermark.
Each choice gives the shopper a friendly label and sends the model a precise description:
| Shopper sees | Prompt receives |
|---|---|
| Watercolor gift | loose watercolor on cold-press paper, soft edges, muted palette |
| Modern illustrated | flat vector illustration, clean outlines, limited warm palette |
If you have an existing design and want to turn it into a prompt with variables, start with the AI design prompt generator.
In Personalize.design: this template is called a Blueprint. Fields drop into the prompt as chips, uploads accept PNG, JPEG, WebP, HEIC, HEIF, and AVIF up to 20 MB, and a starter library includes 14 templates.
Step 4: Test the output before any shopper sees it
Run test generations in the admin with realistic inputs: a blurry photo, a dark photo, a long name, a two-pet photo. Test the unsaved prompt, compare several outputs side by side, and note the cost per run before you publish.
Score each result:
| Check | What to look for | Fix if it fails |
|---|---|---|
| Subject preservation | Does it still look like this pet, not a generic one? | Strengthen the instruction to keep features, markings, and pose; try another model |
| Style consistency | Do five different pets look like the same product line? | Add a reference image; tighten style wording per choice value |
| Text handling | Is the name spelled correctly and placed cleanly? | Keep names short; cap field length; drop text from the artwork if spelling fails |
| Print fit | Does the composition fit the print area with safe margins? | Adjust aspect ratio and composition instructions |
| Cost and wait time | Is the per-preview cost acceptable, and is the wait reasonable? | Use a lighter model variant; reduce outputs |
A note on text: the fields guide the AI prompt. Image models can still misspell words. If a product depends on letter-perfect text, test heavily or keep the text short.
Step 5: Assign the template to your product
Connect the tested template to the synced product, then check it before shoppers see it:
- Pick the print surface and confirm its guide is available.
- Generate a product mockup preview and check the artwork’s placement against the safe margins.
- Publish, then open the live product page in a private mobile browser window and confirm the Personalize button appears.
Unpublishing should stop new shopper personalization without deleting history, so you can pull a product quickly if the output drifts.
Step 6: Show a preview before add to cart
The storefront flow should run in this order:
- The shopper clicks the Personalize button on the product page.
- They upload a photo and fill in the fields.
- The app generates a preview and shows its status while it works.
- The shopper reviews the preview, regenerates if allowed, and only then adds to cart.
- The cart line carries a reference to that exact personalization.
The key rule: add to cart only after a valid personalization exists. If a shopper can add the product before the preview is ready, you get orders with no artwork attached. Test it yourself: open the product on mobile, add to cart quickly, and check that the order reaches your admin with the personalization attached.
Why an AI preview differs from a live layer preview: live preview vs AI-generated preview.
In Personalize.design: the Personalize button is a Shopify theme app block styled from your theme’s button classes, and the order admin shows the customer input next to the artwork.
Step 7: Control what AI previews cost you
Every preview is a paid AI generation, whether the shopper buys or not. Your margin depends on who pays for it and when.
How pricing models compare (as of October 2026)
Figures below come from each vendor’s public pricing or Shopify App Store page on October 10, 2026. Plans change often, so check the live page before deciding.
| Pricing model | Example | What you pay for |
|---|---|---|
| Per image generated | PODai: Starter is free to install, $0.45 per high-res image | Every preview, bought or not |
| Per unit sold | Podtrait: Basic is free to install, $2 per unit sold (capped at $400/mo) | Only sold units |
| Subscription plus per order | Autopictura: Starter $49/mo with 50 orders included, then $1.50 per order; 7-day trial; can use your own AI API key | Base fee plus orders |
| Subscription plus per personalized item | Customily: from $49/mo per platform, plus $1 per unique personalized item for items 1-100, falling to $0.10 at higher volume | Base fee plus items |
| Subscription plus per personalized item, plus AI usage | Personalize.design: Launch plan $29/mo plus $0.45 per personalized item sold, with AI previews billed as usage under a monthly spend cap; 14-day trial for new stores | Base fee, sold items, and AI previews |
Full comparison: best Shopify product personalization apps. For side-by-sides, see our Customily comparison and Teeinblue comparison.
Example margin
The numbers below are illustrative. Replace them with your own supplier quote, AI cost, and store data.
- Product: 12x16 poster. Assume supplier base cost plus shipping of $18 and a retail price of $49.
- AI usage: shoppers who try the personalizer average 4 previews, at an assumed $0.08 per preview, and 5% of those shoppers buy.
- AI cost per order: 4 previews ÷ 0.05 conversion × $0.08 = $6.40.
- Contribution before ads and fees: $49 − $18 − $6.40 = $24.60.
Conversion is the lever. At 2% conversion, AI cost per order rises to $16, which wipes out most of the margin. Run the same calculation with your own supplier quote, AI cost, and conversion rate before you set a price.
Guardrails to set before launch
- Per-product preview limit. Stops one shopper from generating 40 versions.
- Per-session limit. Caps total previews across products, with a reset window.
- Monthly spend cap. When it is reached, new previews stop instead of generating past your budget, and shoppers see a short unavailable message.
- Valid input first. Validate uploads and required fields before generation, so an unsupported or oversized file is rejected before any AI cost is incurred.
Never allow unlimited anonymous generation on a public product page.
In Personalize.design: the defaults are 5 previews per product (adjustable from 1 to 50) and 15 per session, reset every 60 minutes.
Want these limits in place from day one? Install Personalize.design on Shopify and start with one template.
Step 8: Fulfill paid orders and plan for failures
A paid order has to become a print-ready file at your supplier exactly once.
The happy path
- Shopify sends a paid-order webhook.
- The app matches the order line to the stored personalization and its generated artwork.
- The artwork is prepared for the print area, upscaled if needed, with its effective resolution checked.
- The item is submitted to your Printify shop or Printful store.
Ask any app you evaluate how it handles retried webhooks and unclear supplier responses. Personalize.design is designed so that a retried webhook or an unclear supplier response is reconciled against the existing supplier order instead of creating a second one.
Then check what happens inside your supplier account. Check how your Printify shop or Printful store handles incoming orders (automatic production or manual approval) and confirm it with a test order.
The exceptions you must plan for
Even with automatic submission, some orders need a human. Common blockers:
- missing shipping details on the order
- supplier disconnected, or no Printify shop or Printful store selected
- print surface not configured for that product, or no supplier variant mapped
- personalization or preview asset missing from the order
Your app should show the reason, let you fix the cause, and retry from the order. You should also be able to review the artwork, replace the final asset, or download the file. Treat that review path as part of the product, not as a failure.
In Personalize.design: a blocked item shows Action required with the reason, and the product editor shows an estimated print DPI while you position the artwork.
Rights and terms
Before launch, read Printify’s guide to selling AI-generated art and your AI generator’s commercial-use terms (summarized in the FAQ below). The US Copyright Office’s AI report series covers the copyright details. In practice:
- Keep brand names, copyrighted characters, and celebrity likenesses out of prompts and choice values.
- Tell shoppers that artwork is AI-generated from their photo.
- Treat your template, product page, and service as the moat, not the image itself.
When AI personalization is the wrong choice
Be honest about fit before you build:
- You need letter-perfect names on a fixed layout. A layer-based customizer is simpler and more predictable.
- You sell mainly on Etsy or another non-Shopify channel. This workflow is built for Shopify storefronts.
- Your product has a tiny print area. Detailed AI portraits can lose their appeal on very small surfaces.
- You cannot absorb preview costs at your traffic level. Model it first.
FAQ
Can I sell personalized products on Shopify without an app?
Yes, for simple cases. Product options and variants handle fixed choices such as size or color. Once you need photo uploads, a generated preview, AI-generated artwork, or a print file per order, you need an app.
How much should I charge for an AI-personalized product?
Price it as a premium gift, not a blank. Start from your supplier base cost plus shipping, add your expected AI cost per order (previews per shopper divided by preview-to-order conversion, times the cost per preview), then add your target margin. Compare the result with what shoppers already pay for hand-drawn portraits in your niche.
How long does an AI preview take to generate?
It depends on the model, the output size, and how many images you generate per request. Measure it during your admin test runs, show a clear progress state on the storefront, and pick a lighter model if the wait feels long on mobile.
What happens if the customer does not like the preview?
Because the preview runs before add to cart, nothing has been ordered yet. The shopper can change their photo or choices and regenerate within your preview limits, or leave without buying. If many shoppers regenerate, fix the prompt rather than raising the limits.
Can I sell AI-generated designs printed by Printify?
Yes, with conditions. Printify’s guide to selling AI-generated art says it is legal, that copyright depends on how much human input went into the design, and that outputs must not reproduce protected elements. Also check your AI generator’s commercial-use terms, and keep protected names, characters, and likenesses out of your prompts.
Who owns the copyright in an AI-generated design?
In the US, purely AI-generated material is generally not protected, while substantial human authorship can be. Your durable asset is the product and experience, not the single image. See the US Copyright Office’s AI reports, and ask a lawyer for specific cases.
Are AI-personalized orders fulfilled automatically?
The supplier handoff can be automatic, but plan for exceptions. In Personalize.design, a ready item is submitted to your Printify shop or Printful store after payment. Blocked items show Action required and you retry them after fixing the cause. Check how your supplier account handles incoming orders (automatic production or manual approval) and confirm it with a test order.
Launch one AI-personalized product
Start small: one pet portrait poster, one prompt template, three styles, tested limits, and one end-to-end test order. When that product sells and ships cleanly, copy the pattern to your next one.
Install Personalize.design, build your first Blueprint, and connect Printify or Printful to launch your first AI-personalized product on Shopify.

Written by Kévin D
Founder, product designer and merchant. We turn practical product lessons into clearer merchant workflows.